Select your newly created Site in the header and go to the Models section of Designer.
Page Model
We will create our first Page model that will contain
- The Header component from
02-java-microapplication - A KOBI Container to add more components in our pages
- The Footer component from
02-java-microapplication
Steps :
- Click on
+ Add a model - Choose a name,
Header/Footerfor example - Select the
/template (this will use thesite-templates/global.htmlfrom the01-java-siteapplication) - Click
Addto continue
A new card representing your model appeared :
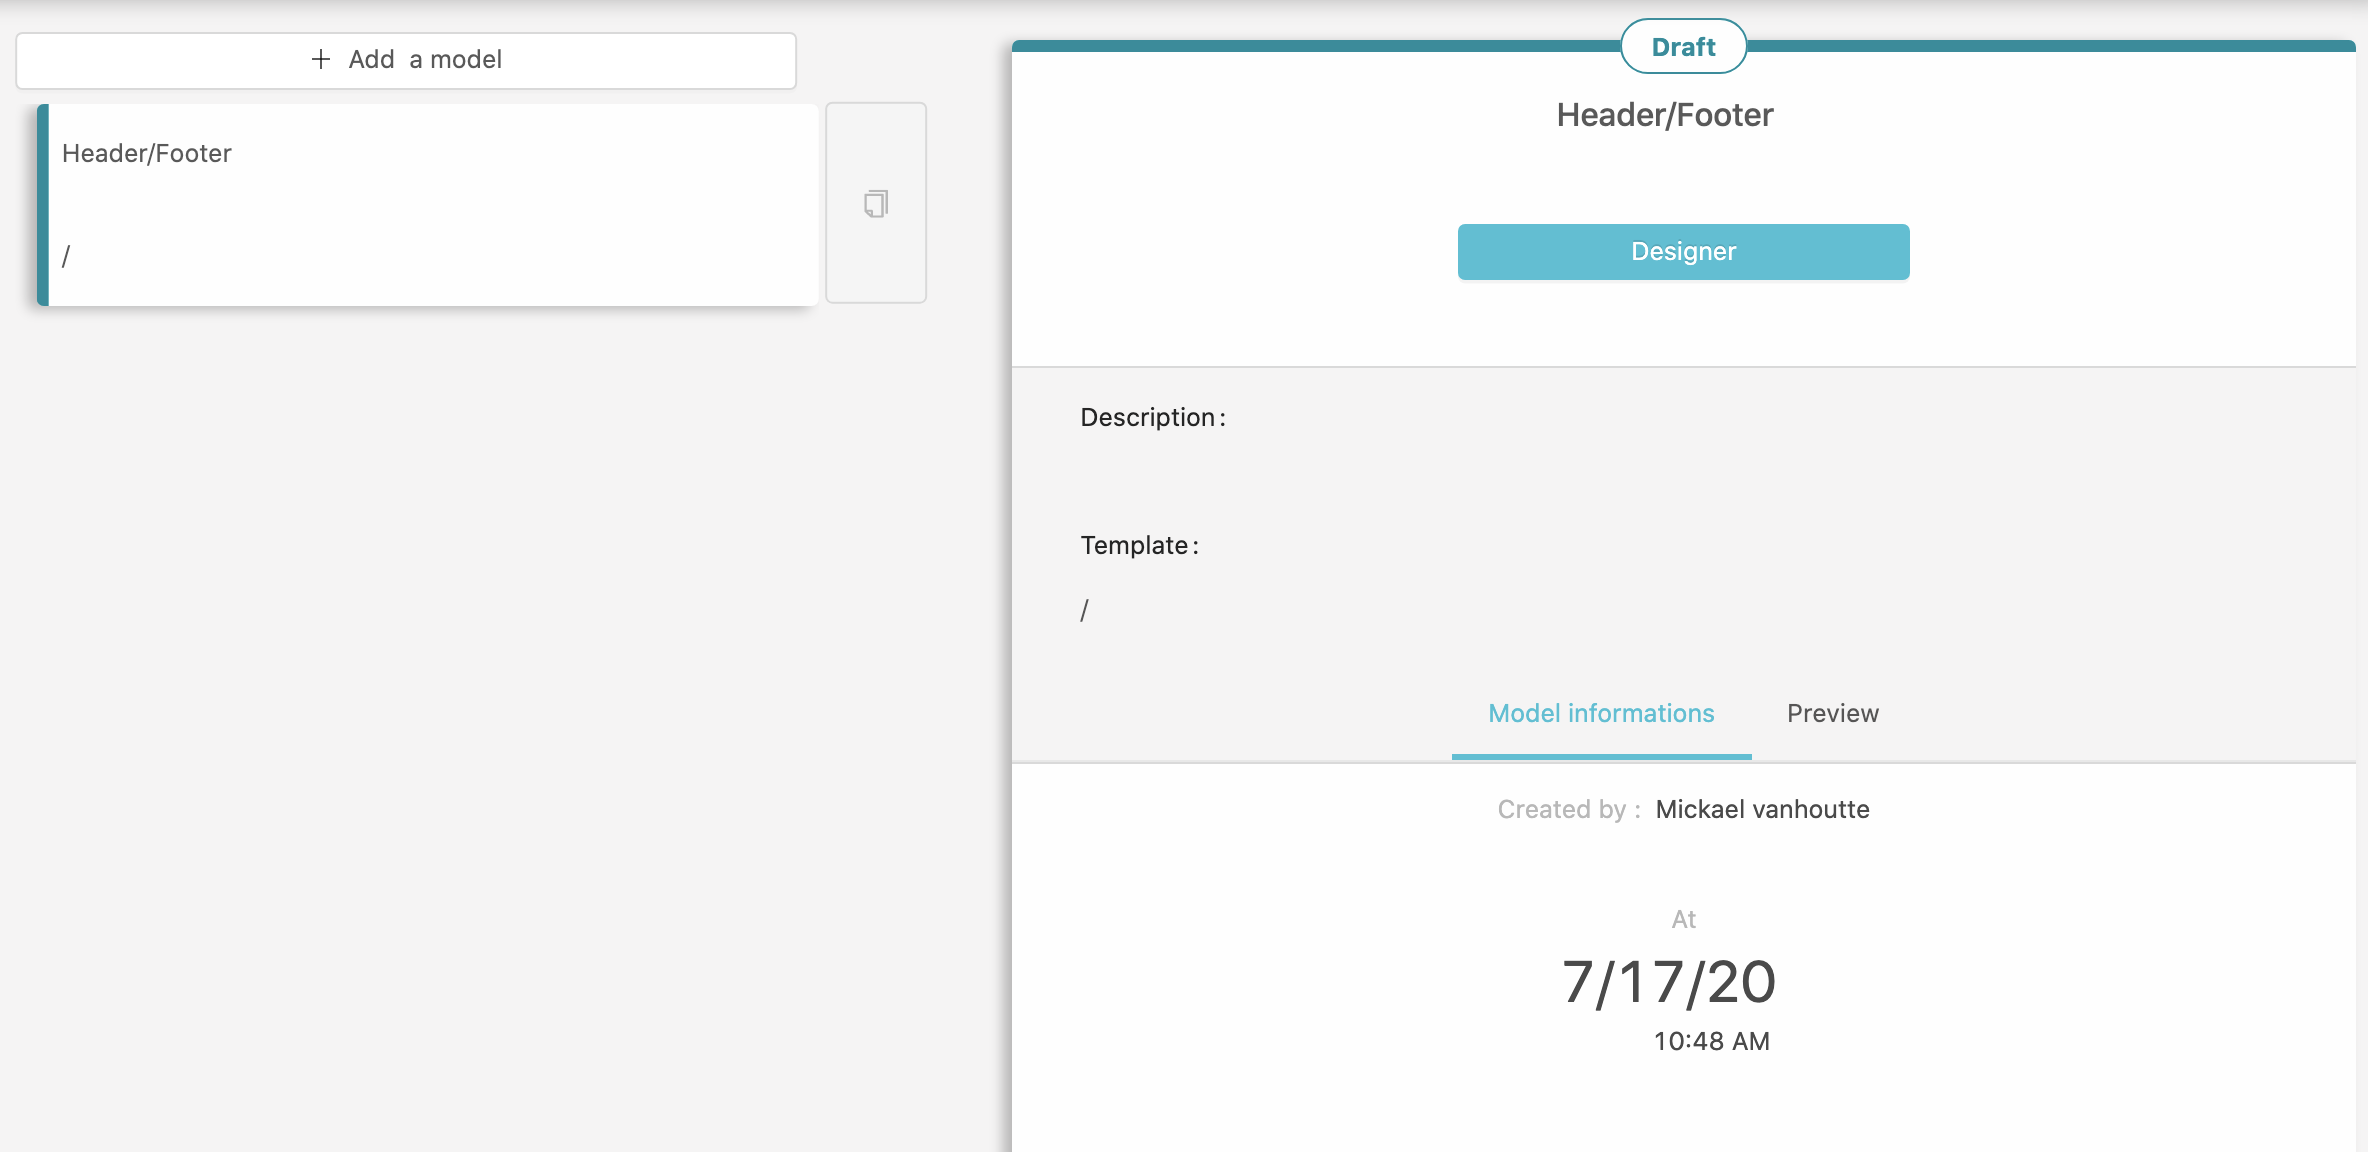
Click Design to start adding components !
You are now in the Design view, on the left pane you can see the added components (only a Container for now), and on the right the preview of your model.
-
Click the container, a list of components will appear.
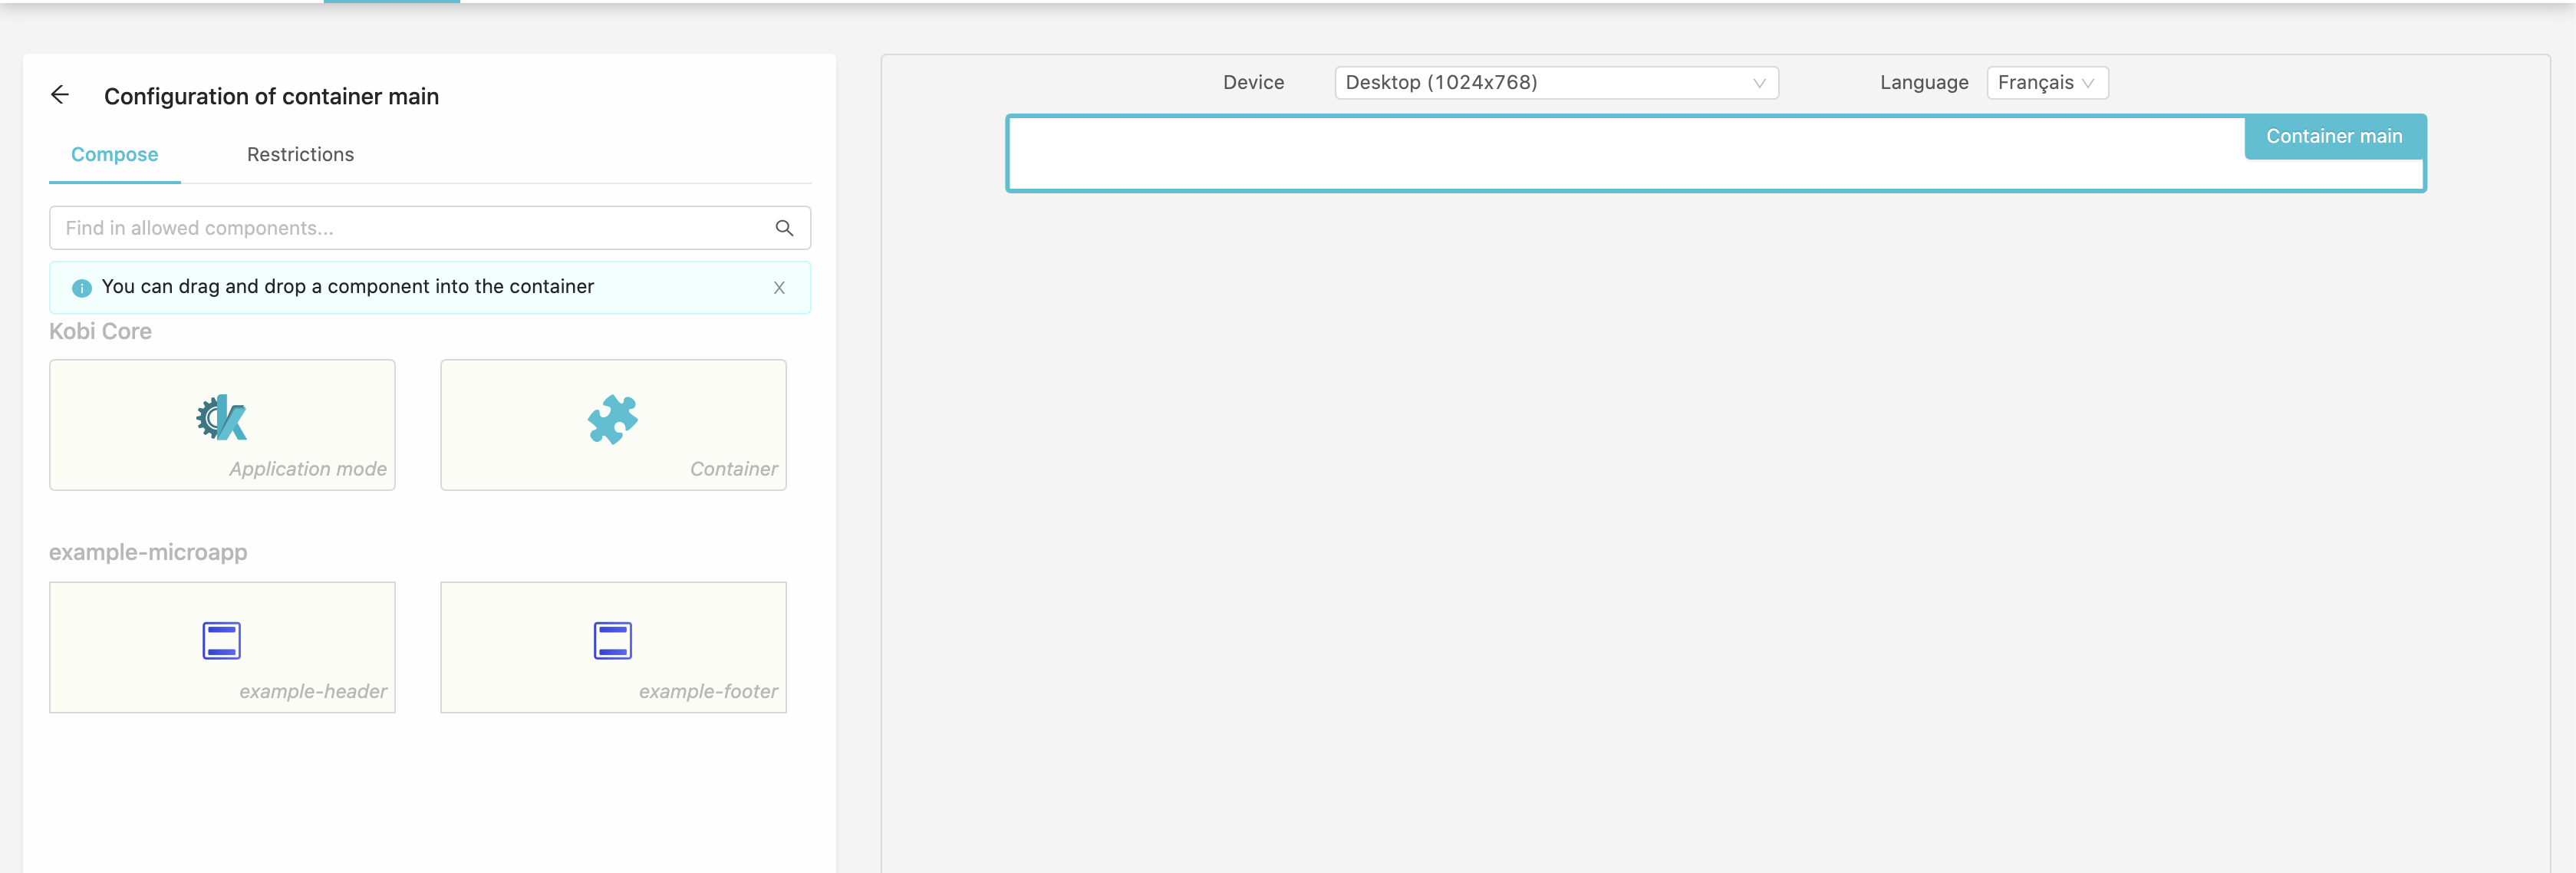
-
Select the
Headercomponent anddragit to the container area on the right. -
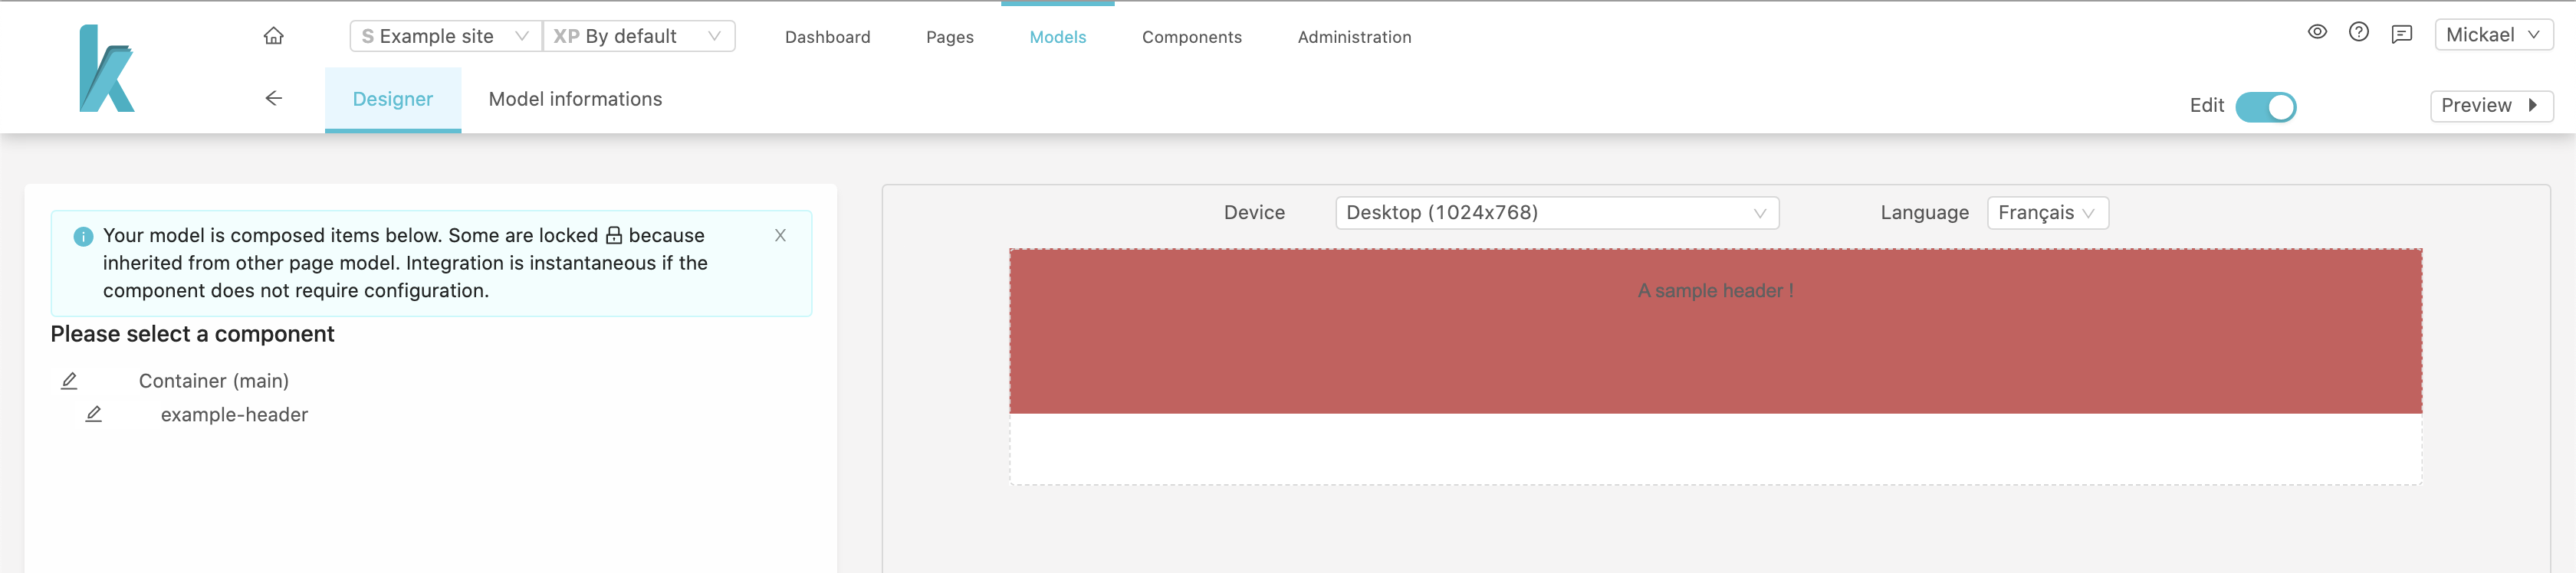
The page will reload, now on the left pane you should see the
Headercomponent inside theContainer. -
We need to configure the components to add a message, click on the
Headercomponent. -
Enter a message,
A sample header !in my example andsave.
-
Now add a
Containerunder theHeader -
Then add the
Footerunder the Container (repeat the steps made for theHeader).
The final result should look like that :
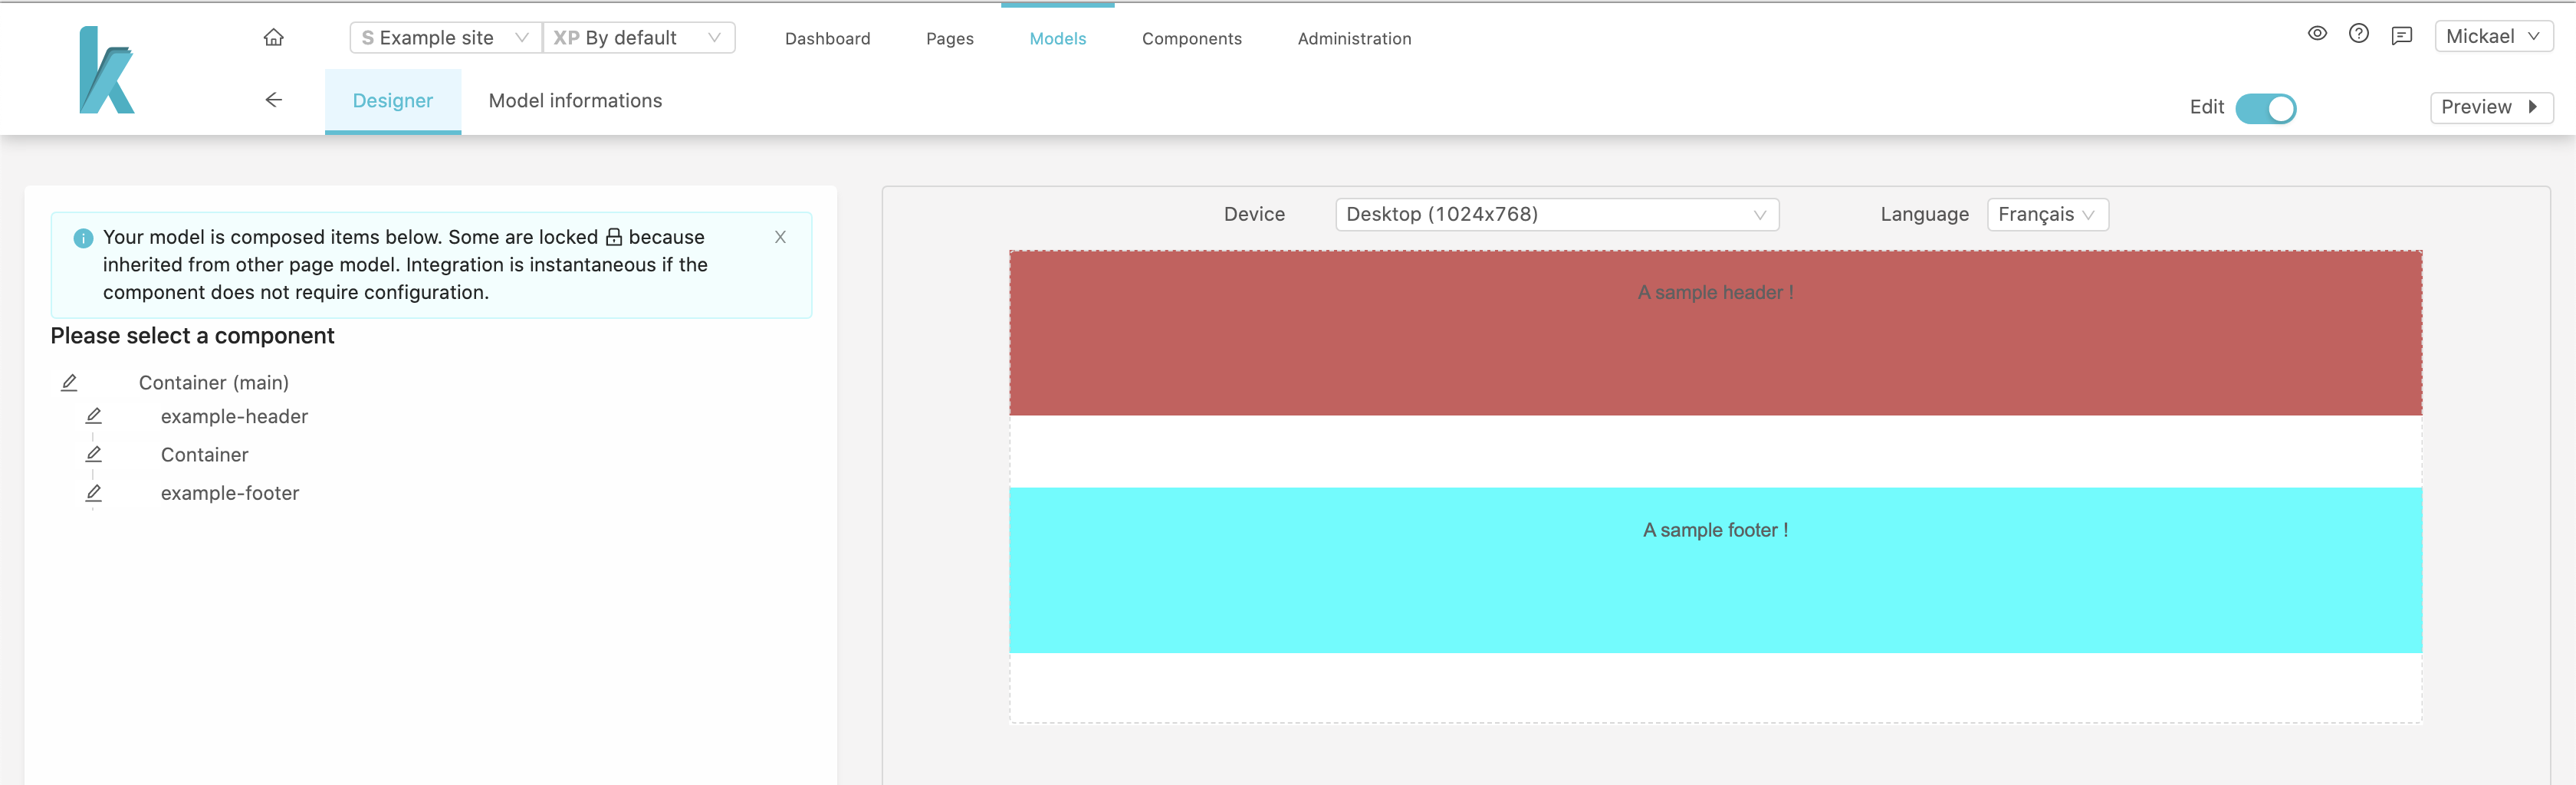
I know it’s not the prettiest page, but eh, it’s an example ! Feel free to update the templates and styles of theese components. The model should be automatically updated once your applications restarted.
- When you are satisfied,
Publishthe model.
Pages
Let’s go to the Pages section (from the header).
- Create a new page by clicking the
+ Add a page - Choose a name,
Homefor example - Select your new Model
Header/Footer - Click
Addto continue - An URL should be generated (your site host +
/since it’s the root page). - Fill the titles and meta fields or skip by clicking
Next - A default variation will be created for this Page, click
Finalize.
Like for the model, a new card representing you page should appear :
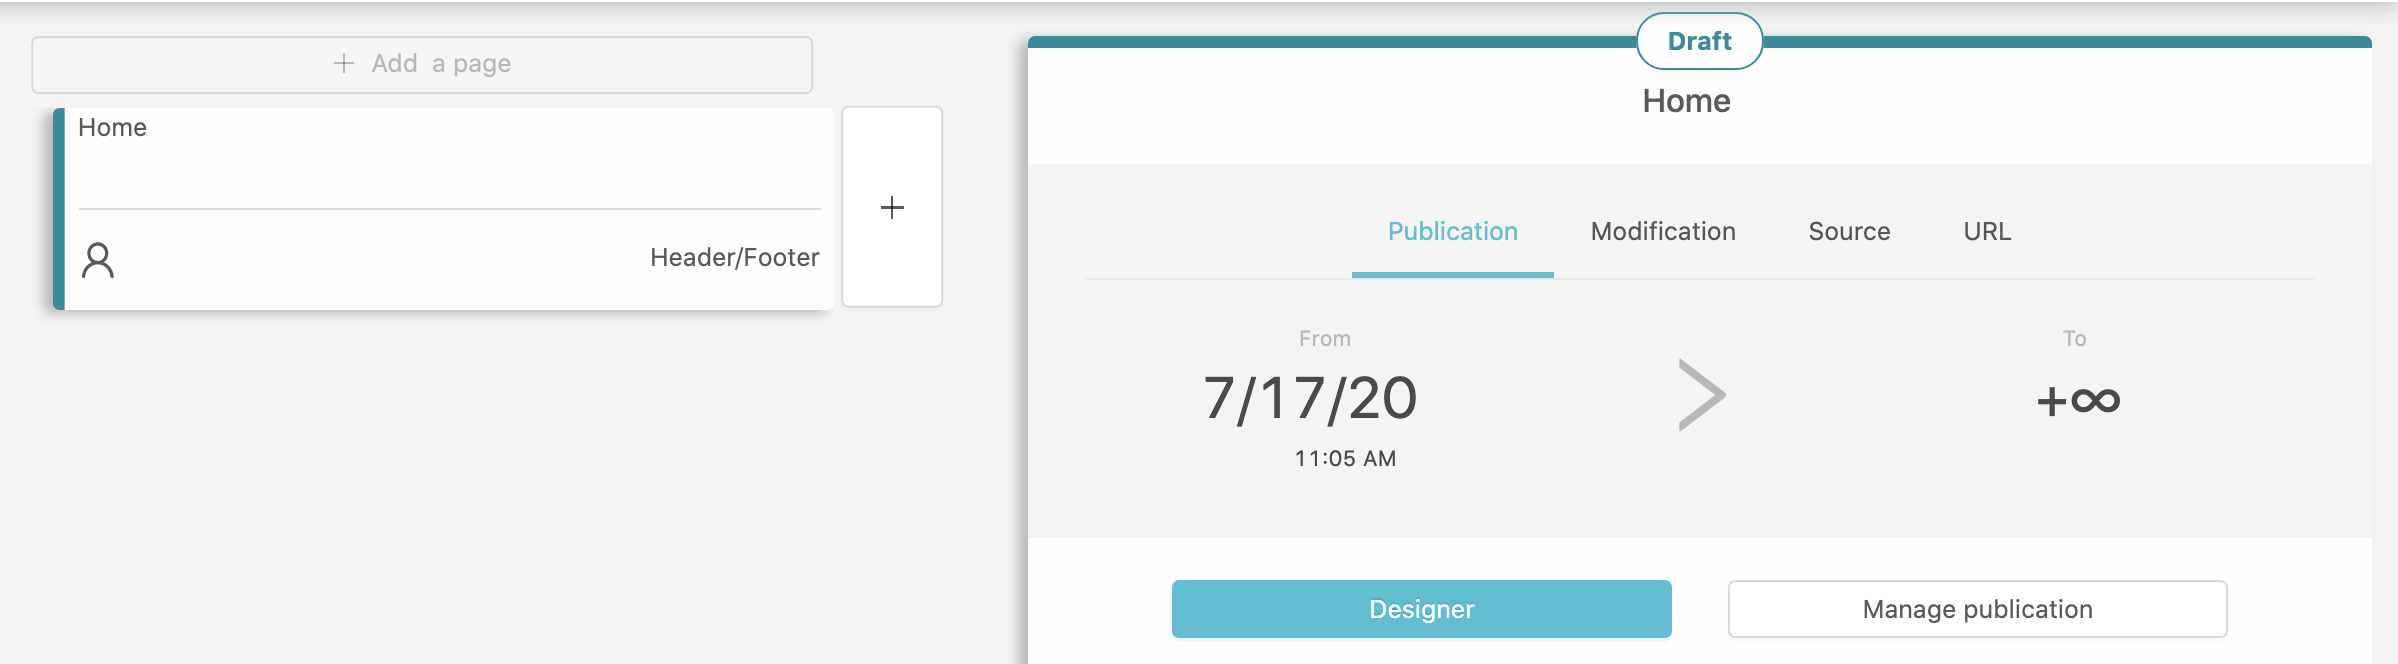
Click Design to edit it.
Once again you are in the Design view, what you see is very similar to the model, on the left we have our Header, Container and Footer but only the Container is editable since the two other are component’s inherited from our Header.
If you click on the Container you will be able to add more component’s to your page. Unfortunately we didn’t configured more, so we will just Publish our page.
Go back to the Pages section, your page card should be green now that it’s published.
In the URL tab you can access your page click on its URL.
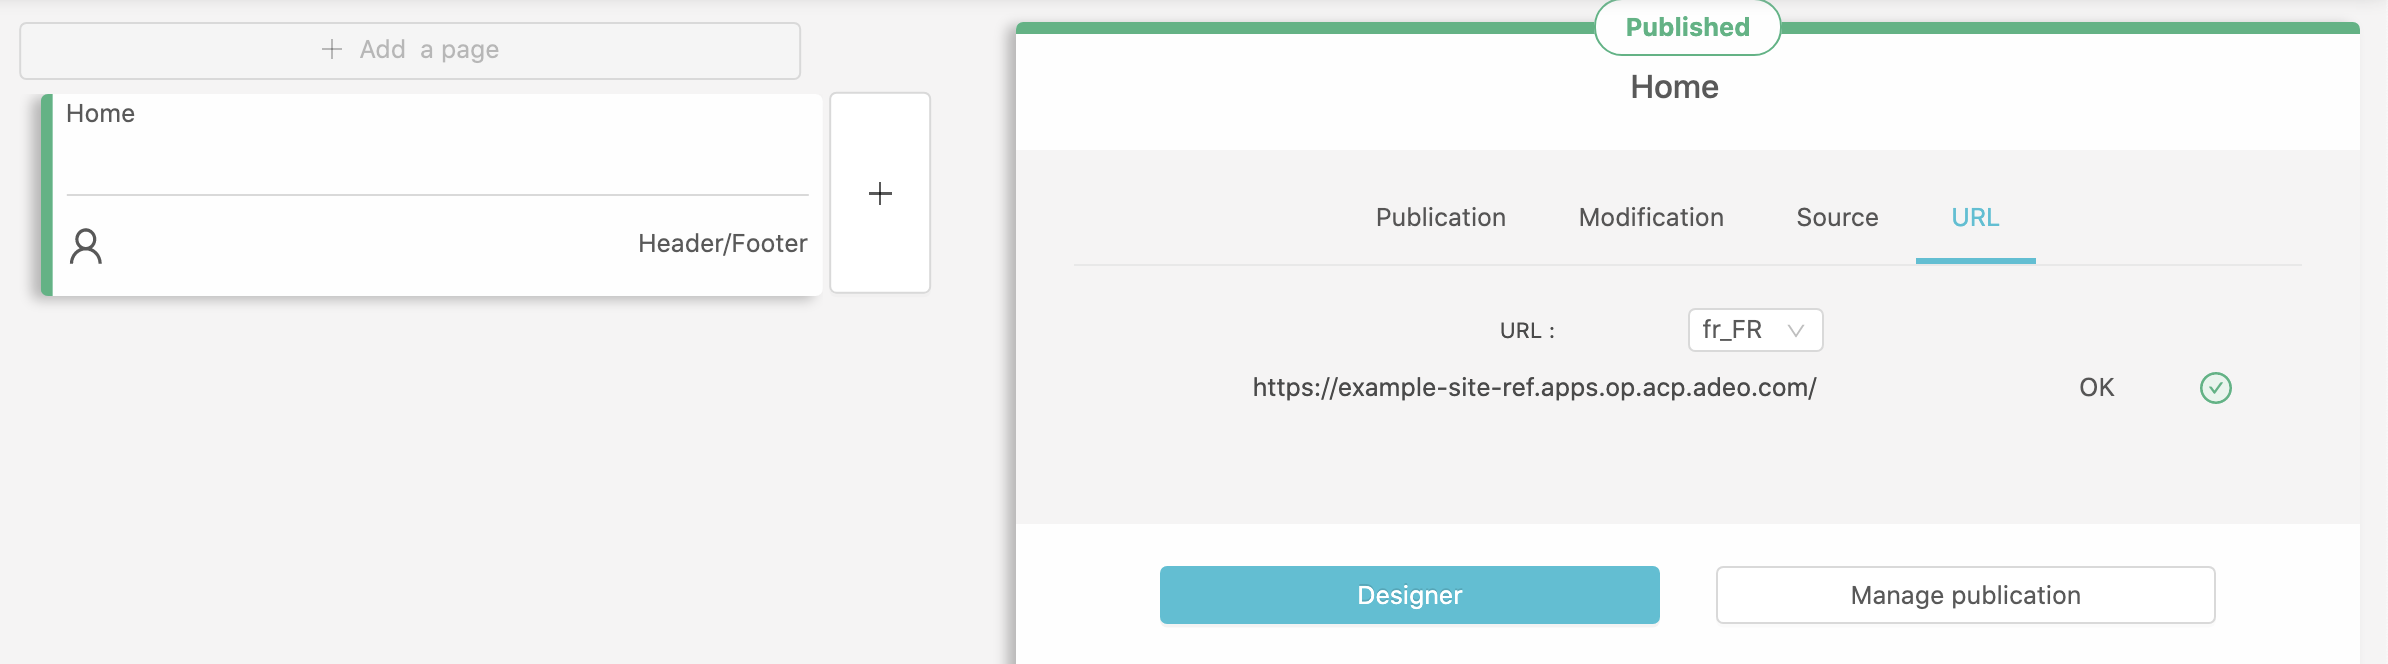
The result should look like :

Next steps
Congratulation, you’ve created a basic Site configuration, set up your applications and designed your first model and page.
Now you should think about the components you will need and create the pages of your site !
Some resources you may need :
- Layout : to help you slicing your pages in component !
- User guide : to discover all the features of Designer !