This project is made and maintained by the KOBI team, this is (for now) the most complete Starter.
Adding this dependency to your Java project allow :
- Automatic registration at startup
- Security handling (authentication and CSRF)
- NavigationContext injection
KOBI Initializr
If you want to start a project right now, we propose a Project Generator using the Java module template
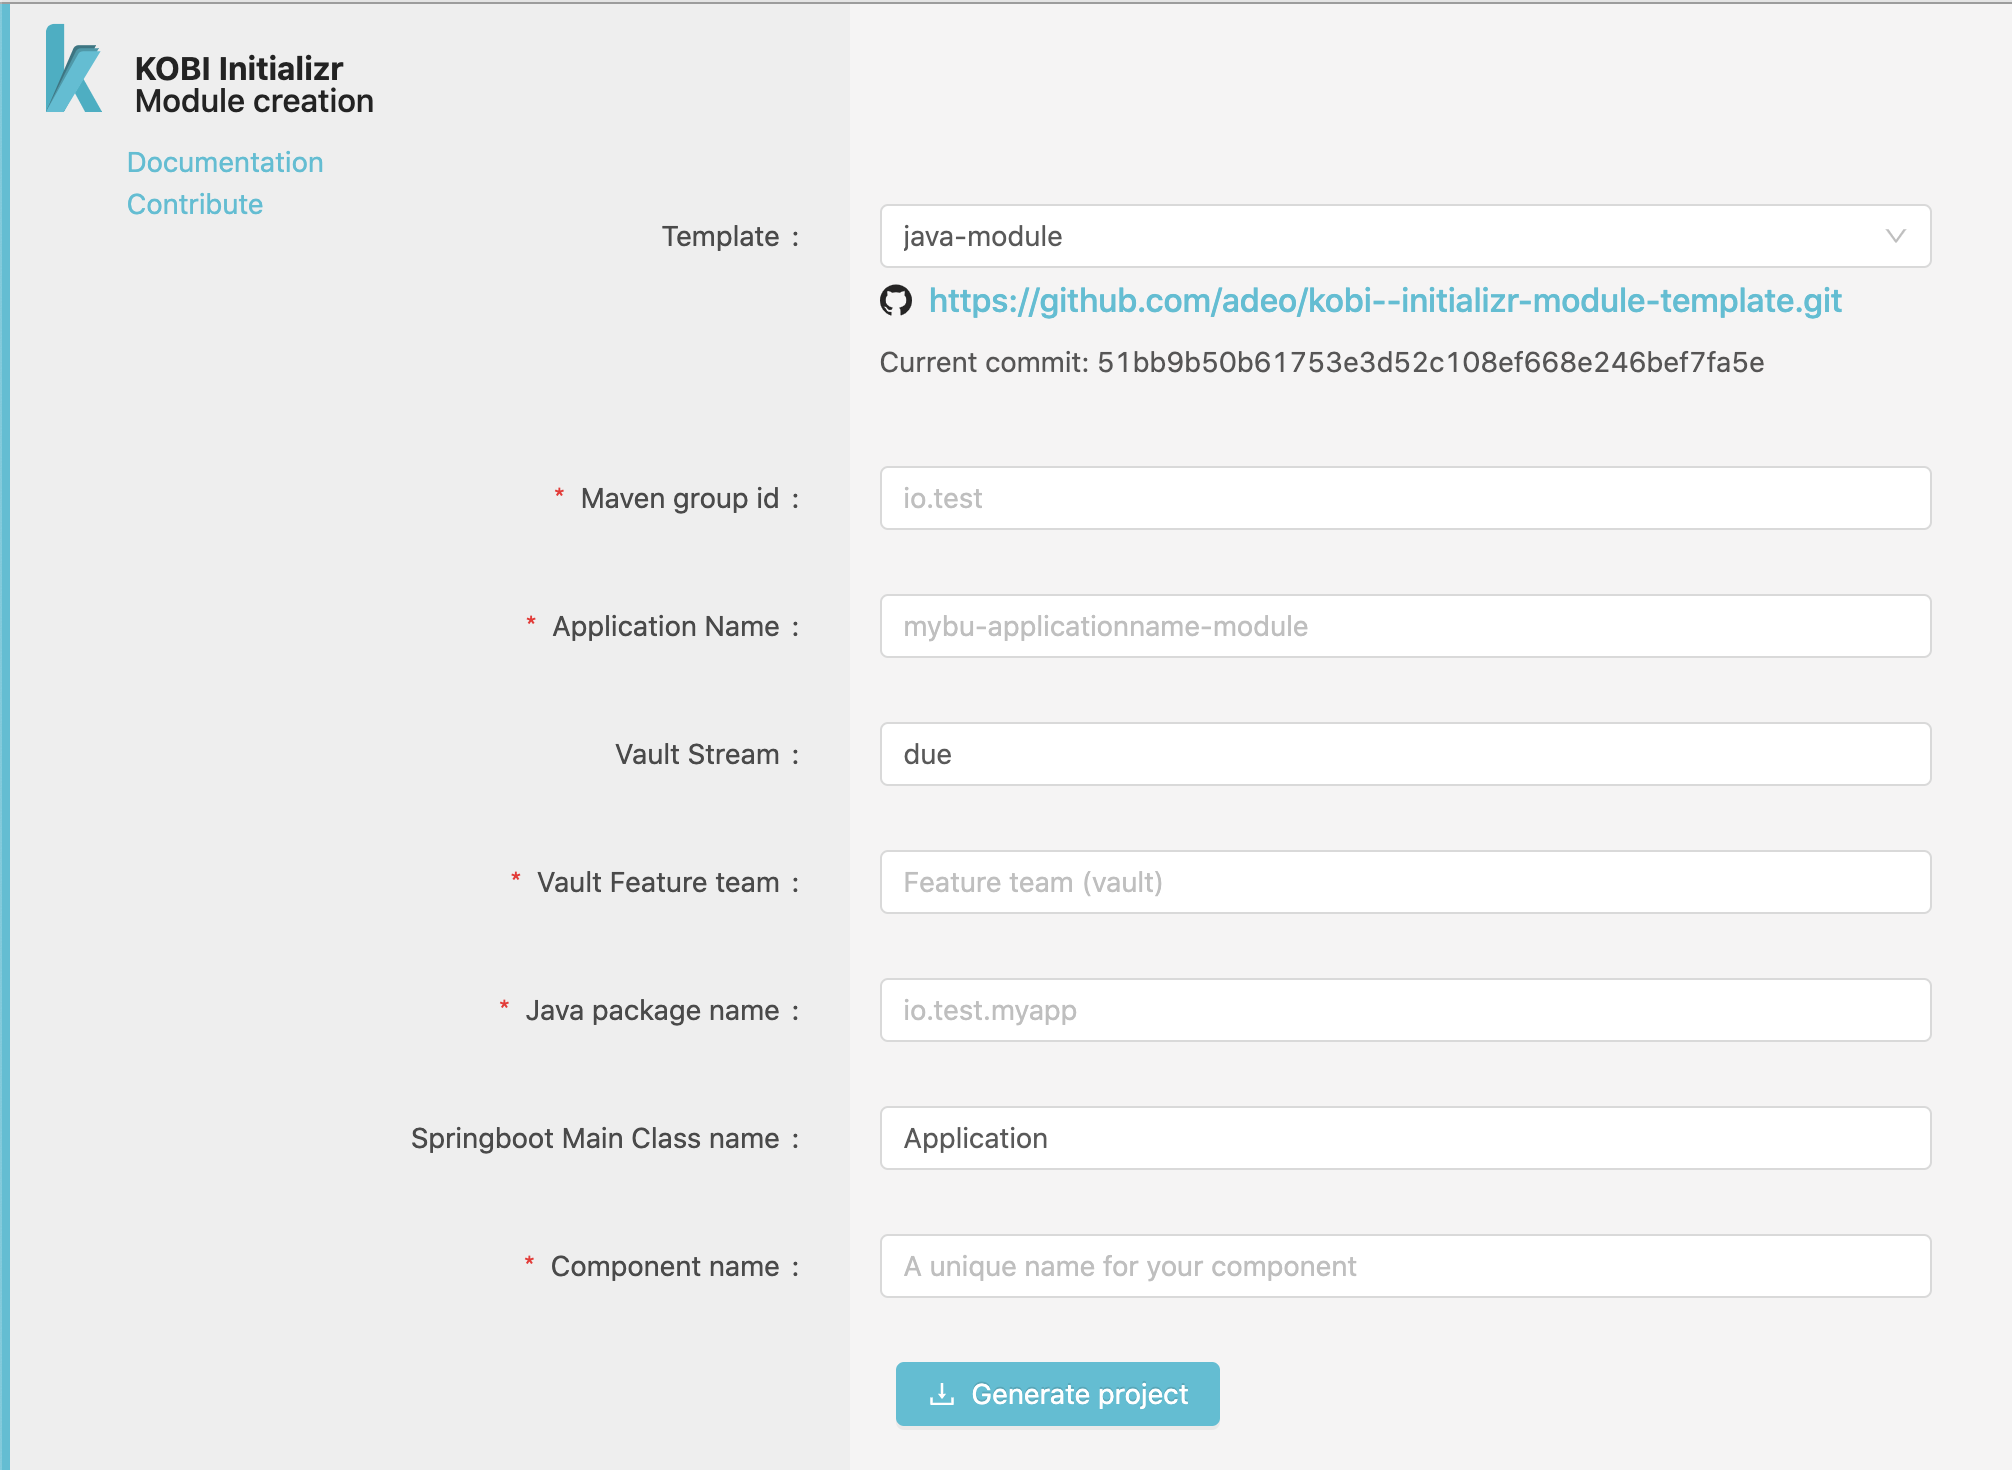
This template will create a sample Java project using Spring-boot and our Java Starter
From scratch
Add the following lines to your pom.xml to add the Starter dependency :
|
|
The Java Starter is made and maintained by the KOBI team, this is (for now) the most complete Starter.
Adding this dependency to your Java project allow :
- Automatic registration at startup
- Security handling (authentication and CSRF)
- NavigationContext injection
Java Starter Features
Registration
The registration is made by annotations, you will register an application which may contains fragments, application-contexts and static resources.
A Site application will register html templates as well.
Application
Add the following to your Spring boot Application main class :
@EnableKobiRegistration(type = KobiRegistrationType.APPLICATION, basePackages = "io.demo.myapp", label = "my-app")
The type represent the type of application you want to register (micro-application in most case).
Fragments
A Fragment is a brick that you will use to build your pages in Designer, an application may register several fragments.
To register a Fragment, create a class that contains the fragment’s configuration attributes and add the @Fragment annotation.
Note that a fragment is purely declarative, when adding a Fragment to a Page in Designer, you will have to fill the configuration fields to complete its configuration (the color field in our example).
When a user request a page in which your fragment is set, Gluer will request your application on the location endpoints (/components/demo for example), so you should have a controller to respond on this endpoint.
If you need query params to be forwarded from the main request to your fragment you have two solutions :
- modify
locationto include your query param :"/components/demo?myQueryParam={query.myQueryParam}" - set the
forwardQueryParamsoption to true - this will forward ALL query params
Our Java Starter allow you to inject multiple things in your controller :
- The NavigationContext : which contains informations on the current page like the resolved site, the resource type & ID, the device…
- The KobiUser as a Spring-security
Principal - Your Fragment class that contains the fragment values set for this page.
Application contexts
An application context is just a label that you can use to reference your applications in a Page Model, the idea is that when a request matches your application mouting point, KOBI forwards the request directly to your application. Your response should contain a X-Kobi-Application-Context header with a registered application context as value.
KOBI will then search for a Model where this context is set to render your application in this Model.
See Application resolution and Application processing for more detail.
To register an application context we use the @ApplicationContext annotation at class level (for every endpoints), or at method level (for a single endpoint).
After registration (at startup) your context demo-context will be usable in a Page Model in Designer.
If a request matches the application mounting point and /application/demo, the HTML content of your controller will be embeded in that Page Model.
Static resources
Static resources registration is made thanks to text descriptors that should be created next to your statics, ex :
/static
     ├─ js
     |	├─ demo.js
     |	└─ demo.js.txt
     ├─ css
        ├─ demo.css
        └─ demo.css.txt
This will allow KOBI to inject the right resources on your pages,
Here’s what a JS descriptor should look like :
# component's names affected by this file (with coma separator)
components: io.demo.MyFragment

# which device impacted by this file (desktop | mobile | all), may be multiple (with coma separator)
devices: all

# which browsers (modern | legacy | all)
browsers: all

# which locales
locales: fr-FR, it-IT

# async script execution (true | false)
async: true

# defer execution after document is loaded
defer: true

# use this attribute name for the src
src-attr: custom-src

# add classes to the element
class: custom-class

# add onload script
onload: console.log("loaded");

# add an order to load the static resources (optional)
order: 1

# customize type atttribute value
type: custom-type
Here’s what a CSS descriptor should look like :
# component's names affected by this file (with coma separator)
components: io.demo.MyFragment

# which device impacted by this file (desktop | mobile | all), may be multiple (with coma separator)
devices: all

# which browsers (modern | legacy | all)
browsers: all

# which locales
locales: fr-FR, it-IT

# resource preloading (true | false)
# preload: REMOVED
# with the Server Push (new feature), the preload is useless.

# use this attribute name for the href
href-attr: custom-href

# add classes to the element
class: custom-class

# add onload script
onload: console.log("loaded");

# use only for requested medias
media: screen

# add an order to load the static resources (optional)
order: 1

# customize type atttribute value
type: custom-type
Security
You should read the Security section and the Site Security configuration first.
Since 2.9.0 the security dependencies are split in another repository kobi–addons, which has it’s own READMEs:
Authentication
Our security starter use Spring-security to create an authentication context when KOBI requests your component with an authentication JWT. This JWT is decoded and mapped to a KobiUser Object that you can inject in your controllers.
All features from Spring-security are effective, if you want to secure an endpoint you can do it this way :
|
|
The @KobiRedirect annotation is used to send a 401 to Gluer with a redirection instruction, without value (and only if your fragment is primary) you will be redirected to the login page if the user isn’t authenticated.
You can set a relative path as a value, that will redirect the user to it.
Why ? Because your user may be authenticated but lacking a specific role, example :
|
|
In this case the user will be redirected to a forum account creation form (that should add the “FORUM” role to the JWT cookie).
CSRF
The CSRF is a security that you should add to your form to prevent Cross Site Request Forgery.
To use it, add a hidden field to your forms named X-CSRF-TOKEN with [CSRF] as value :
|
|
Add the @Csrf annotation to your post handler :
|
|
Gluer will replace the "[CSRF]" in your form by a CSRF token, and send the token as a cookie as well.
When your application receive the post, a handler in the Starter will compare the cookie and the form values. If they do not match an error will be thrown, else your handler will do its job.
Don’t forget to forward cookies when using ajax submission.
XSS
Form objects (2.6.0 +)
The Java starter provide an annotation to prevent XSS injections in your form : @XSSBlocker
It propose 2 behaviours (policies) :
- Deny (default) : refuse the form if a potential XSS is found
- Escape : html escape any potential XSS
To set it up add the annotation on your forms :
|
|
And add the javax.validation @Valid annotation on your controller :
|
|
The validator will search any String or Collection of String or Array of String for potential XSS.
When using the DENY policy, a WebExchangeBindException will be thrown if a XSS is found, use the Spring
@ControllerAdvice annotation to customize your responses.
You application has to scan the validator package in order for the validation to be done :
(Since 2.9.0)
@SpringBootApplication(scanBasePackages = { "io.my.application", "io.kobi.security.xss" })
public class MyApplication {
 ...
}
Path and Query params (2.9.0 +)
You can now check your methods parameters (controllers query & path params are good candidates !) using the @XSSMethodBlocker annotation in addition with the Spring @Validated annotation at class level :
import io.kobi.security.annotations.XSSMethodBlocker;
import org.springframework.validation.annotation.Validated;

@Validated
@RestController
public class MyController {

   @XSSMethodBlocker(exclude = { "attr" })
   @PostMapping(path = "/users/{id}/attributes/{attr}")
   public String submit(final @PathParam String id,
                        final @PathParam String attr) {
      // whatever you want to do, your params is safe
      return "OK";
   }
}
I18N
KOBI sends the resolved language to your applications via the Accept-Language header (Full list of headers).
On the application side, the translations are handled by Spring thanks to property files : https://docs.spring.io/spring-boot/docs/2.1.5.BUILD-SNAPSHOT/reference/html/boot-features-internationalization.html
Configuration
YML
In your default application.yml (sources) you need to set some informations about your application for the registration :
kobi.registration:
    application:
        pathPattern: ^/application/.*
        staticPathPattern: ^/static/.*
        rewriteOnContentType: '(?i)(^(text/|application/json)|.*javascript).*'
pathPattern: a regex to specify dynamic paths that will be routed by Gluer to the application.staticPathPattern: a regex to specify paths that will be routed by Gluer to the application, used to route static resources.rewriteOnContentType: a regex to specify the type of content that will be rewritten by Gluer (replace resources placeholders by actual URLs…).
If your application is of type Site you will need to add a site configuration under application to declare your templates, like this :
kobi.registration:
    application:
        pathPattern: ^/application/.*
        staticPathPattern: ^/static/.*
        rewriteOnContentType: '(?i)(^(text/|application/json)|.*javascript).*'
        site:
          template-folder: /site-templates
          main-resource: global.html
And in your environment config (Spring Cloud or Vault…) you need to set the Registry API URL :
kobi.registration.base-url: $my-env-registry-url
Security
The Security Starter propose a default configuration to use the authentication JWT.
To use this setup, add the following line to your application.yml :
spring.main.allow-bean-definition-overriding: true
And the "io.kobi.security" to your package scan :
@SpringBootApplication(scanBasePackages = {"io.demo.myApp", "io.kobi.security"})
In some cases you may need another source of authentication (other than the authentication jwt cookie), in this case you may use your own filters.
To do that, scan the "io.kobi.security.configuration" package instead :
@SpringBootApplication(scanBasePackages = {"io.demo.myApp", "io.kobi.security.configuration"})
And create your own Security filter chain :
|
|
With this code, we manually register the KOBI filter to handle the authentication cookie, but you can add as much as you want.