This section is used to manage experiences configurations.
Access

Experiences administration is accessible from the “Administration” tab in the header.
Experiences is the fifth and last tab of the Administration Screen.
List
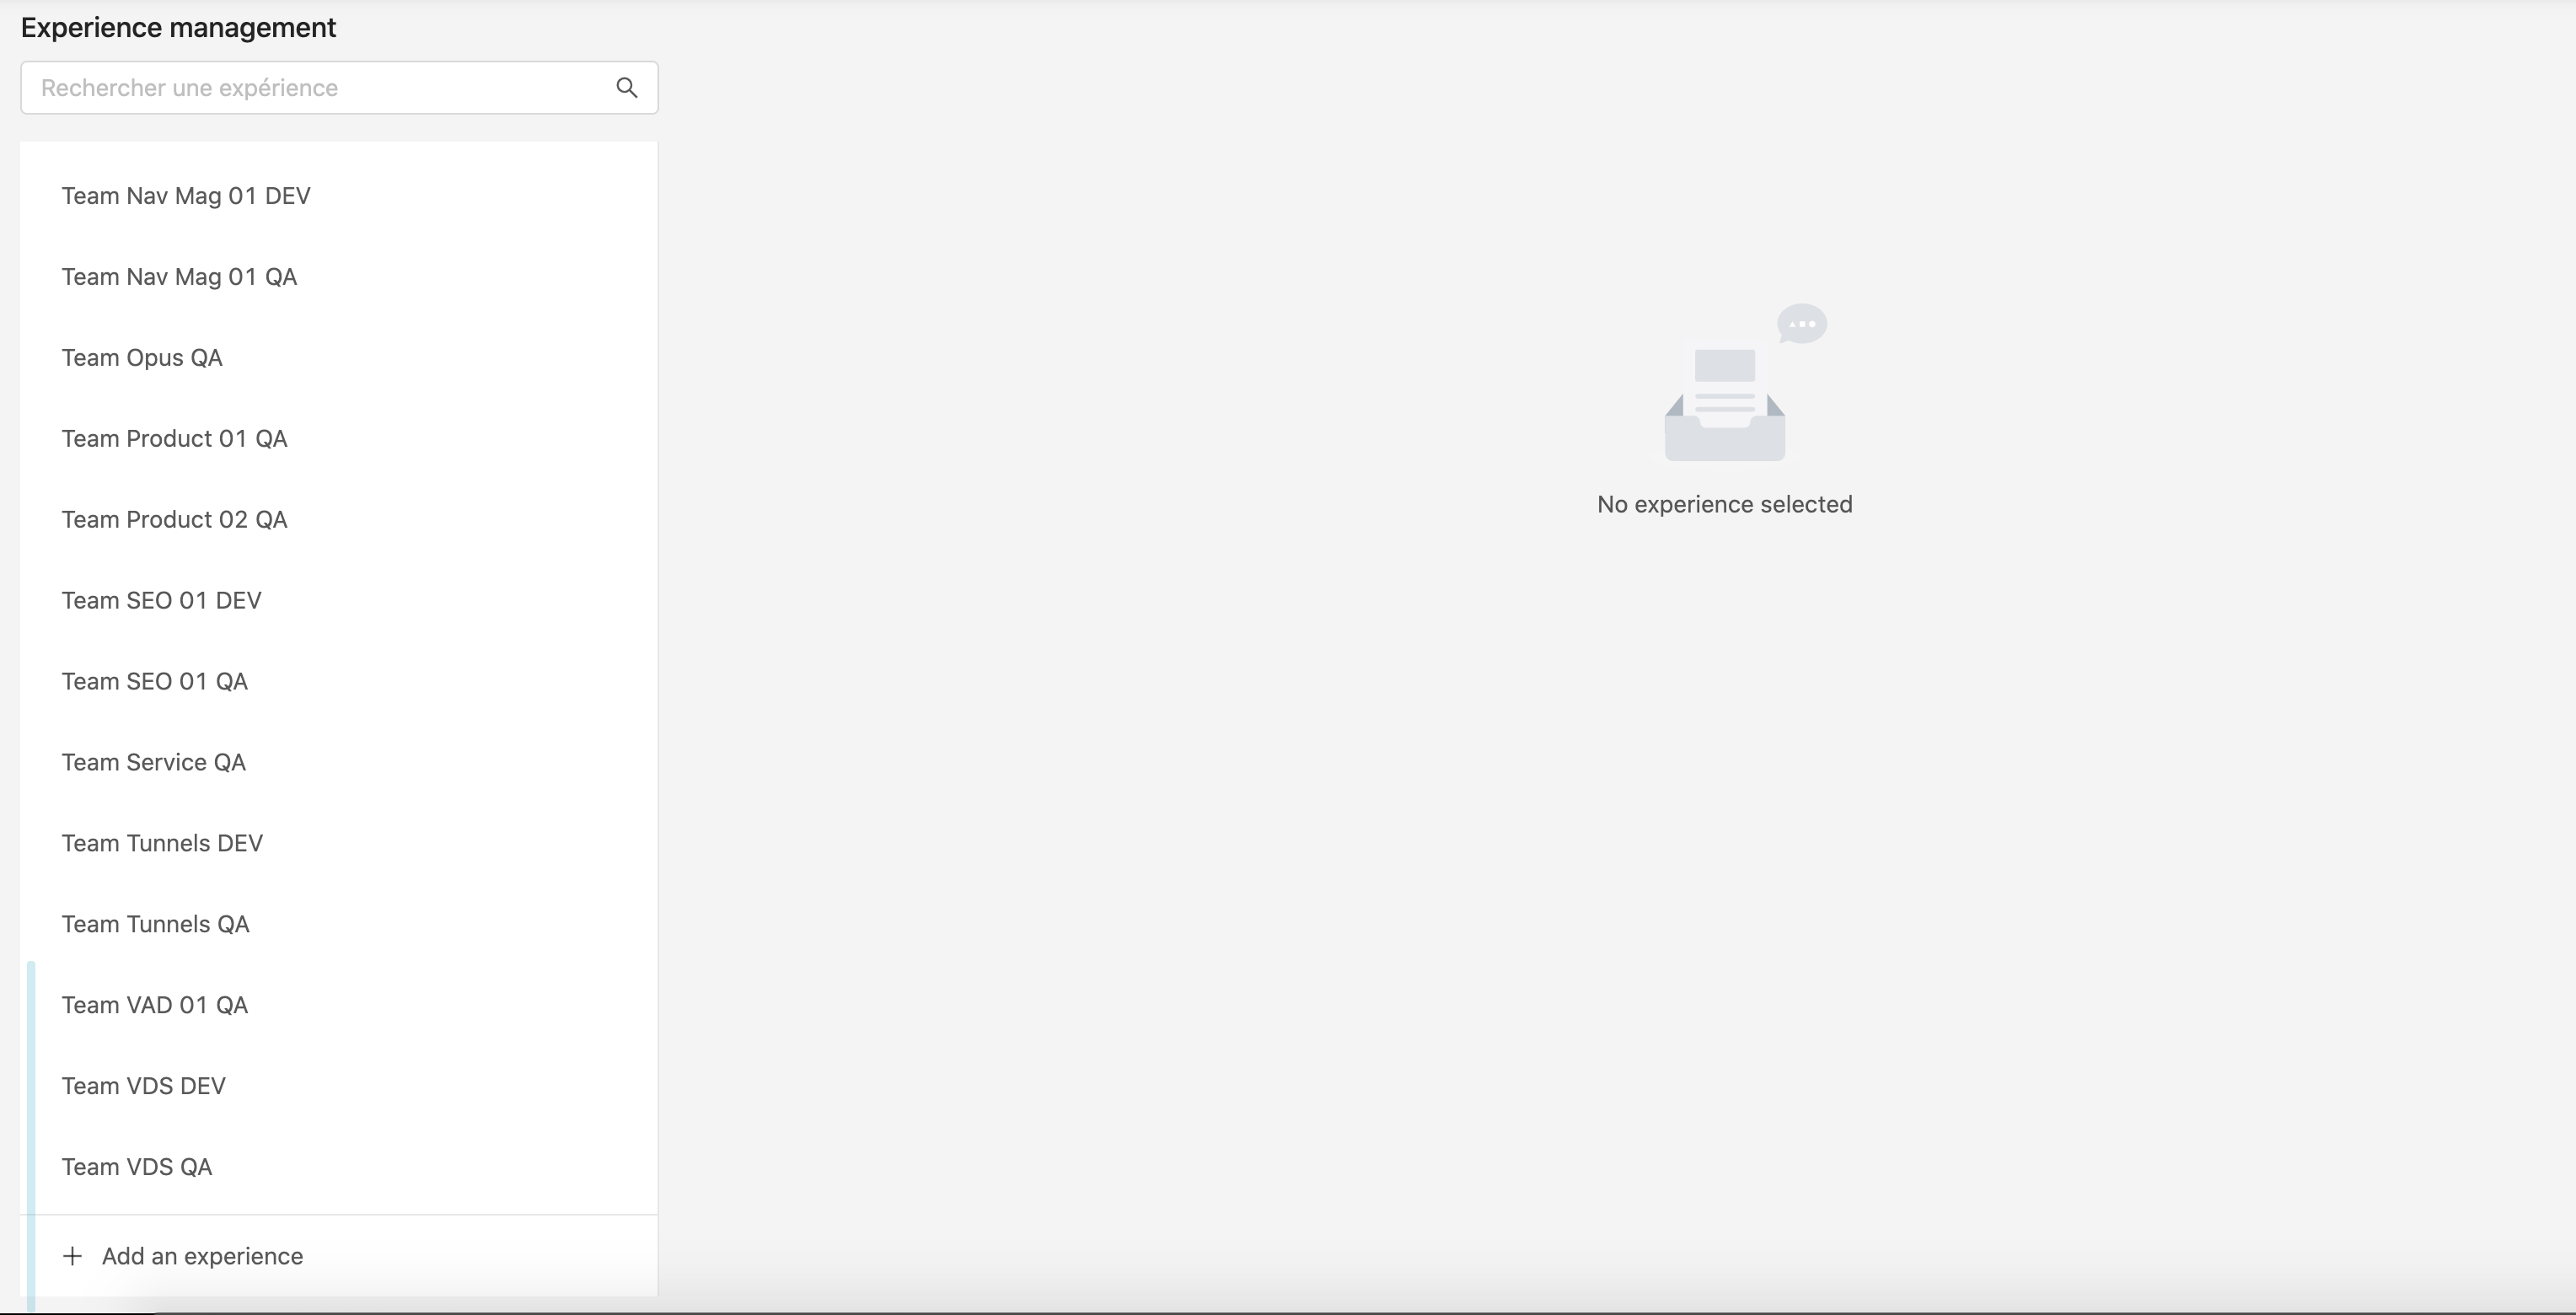
On this screen you will see the list of existing experiences.
From there you can create new experiences, access existing ones, edit them, or delete them (providing you’re in the allowed user list or admin).
Creating an experience
Click on + Add an experience to create a new Experience, this will open the Experience creation form.
This form is very similar to the Site creation since an Experience is an override of a Site configuration.
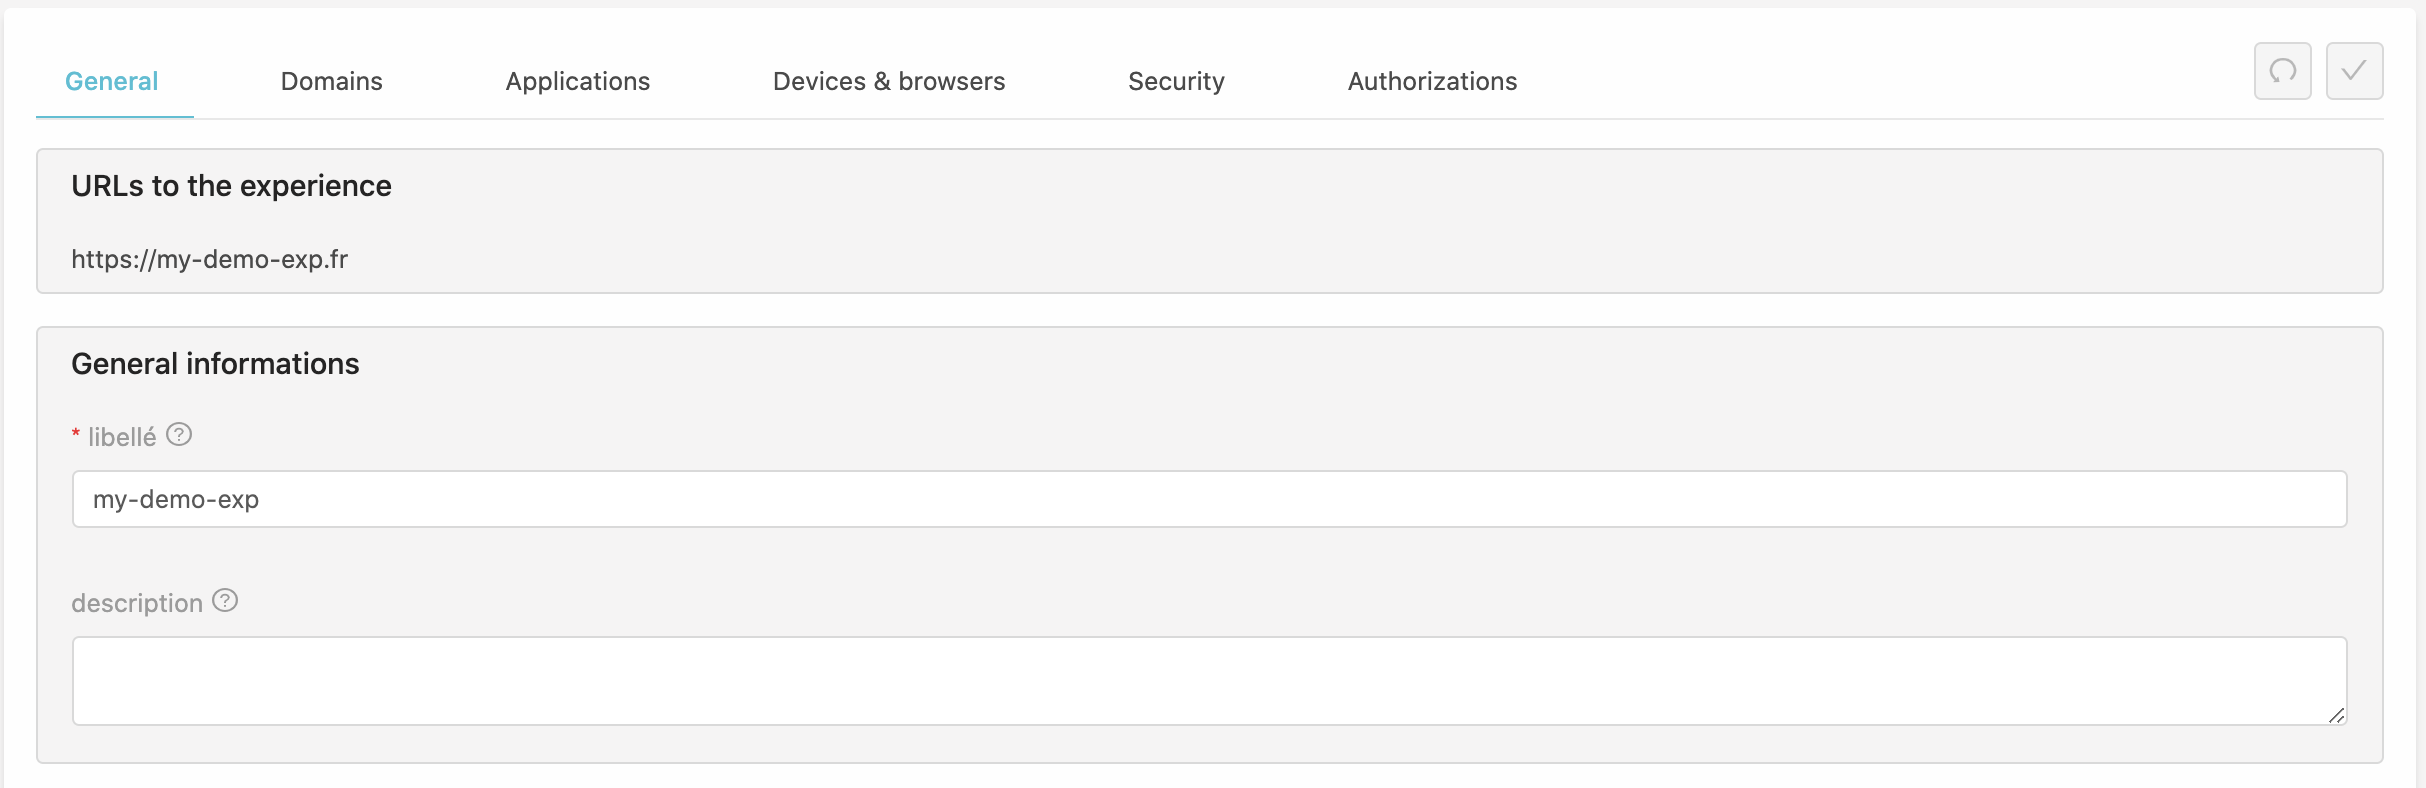
General
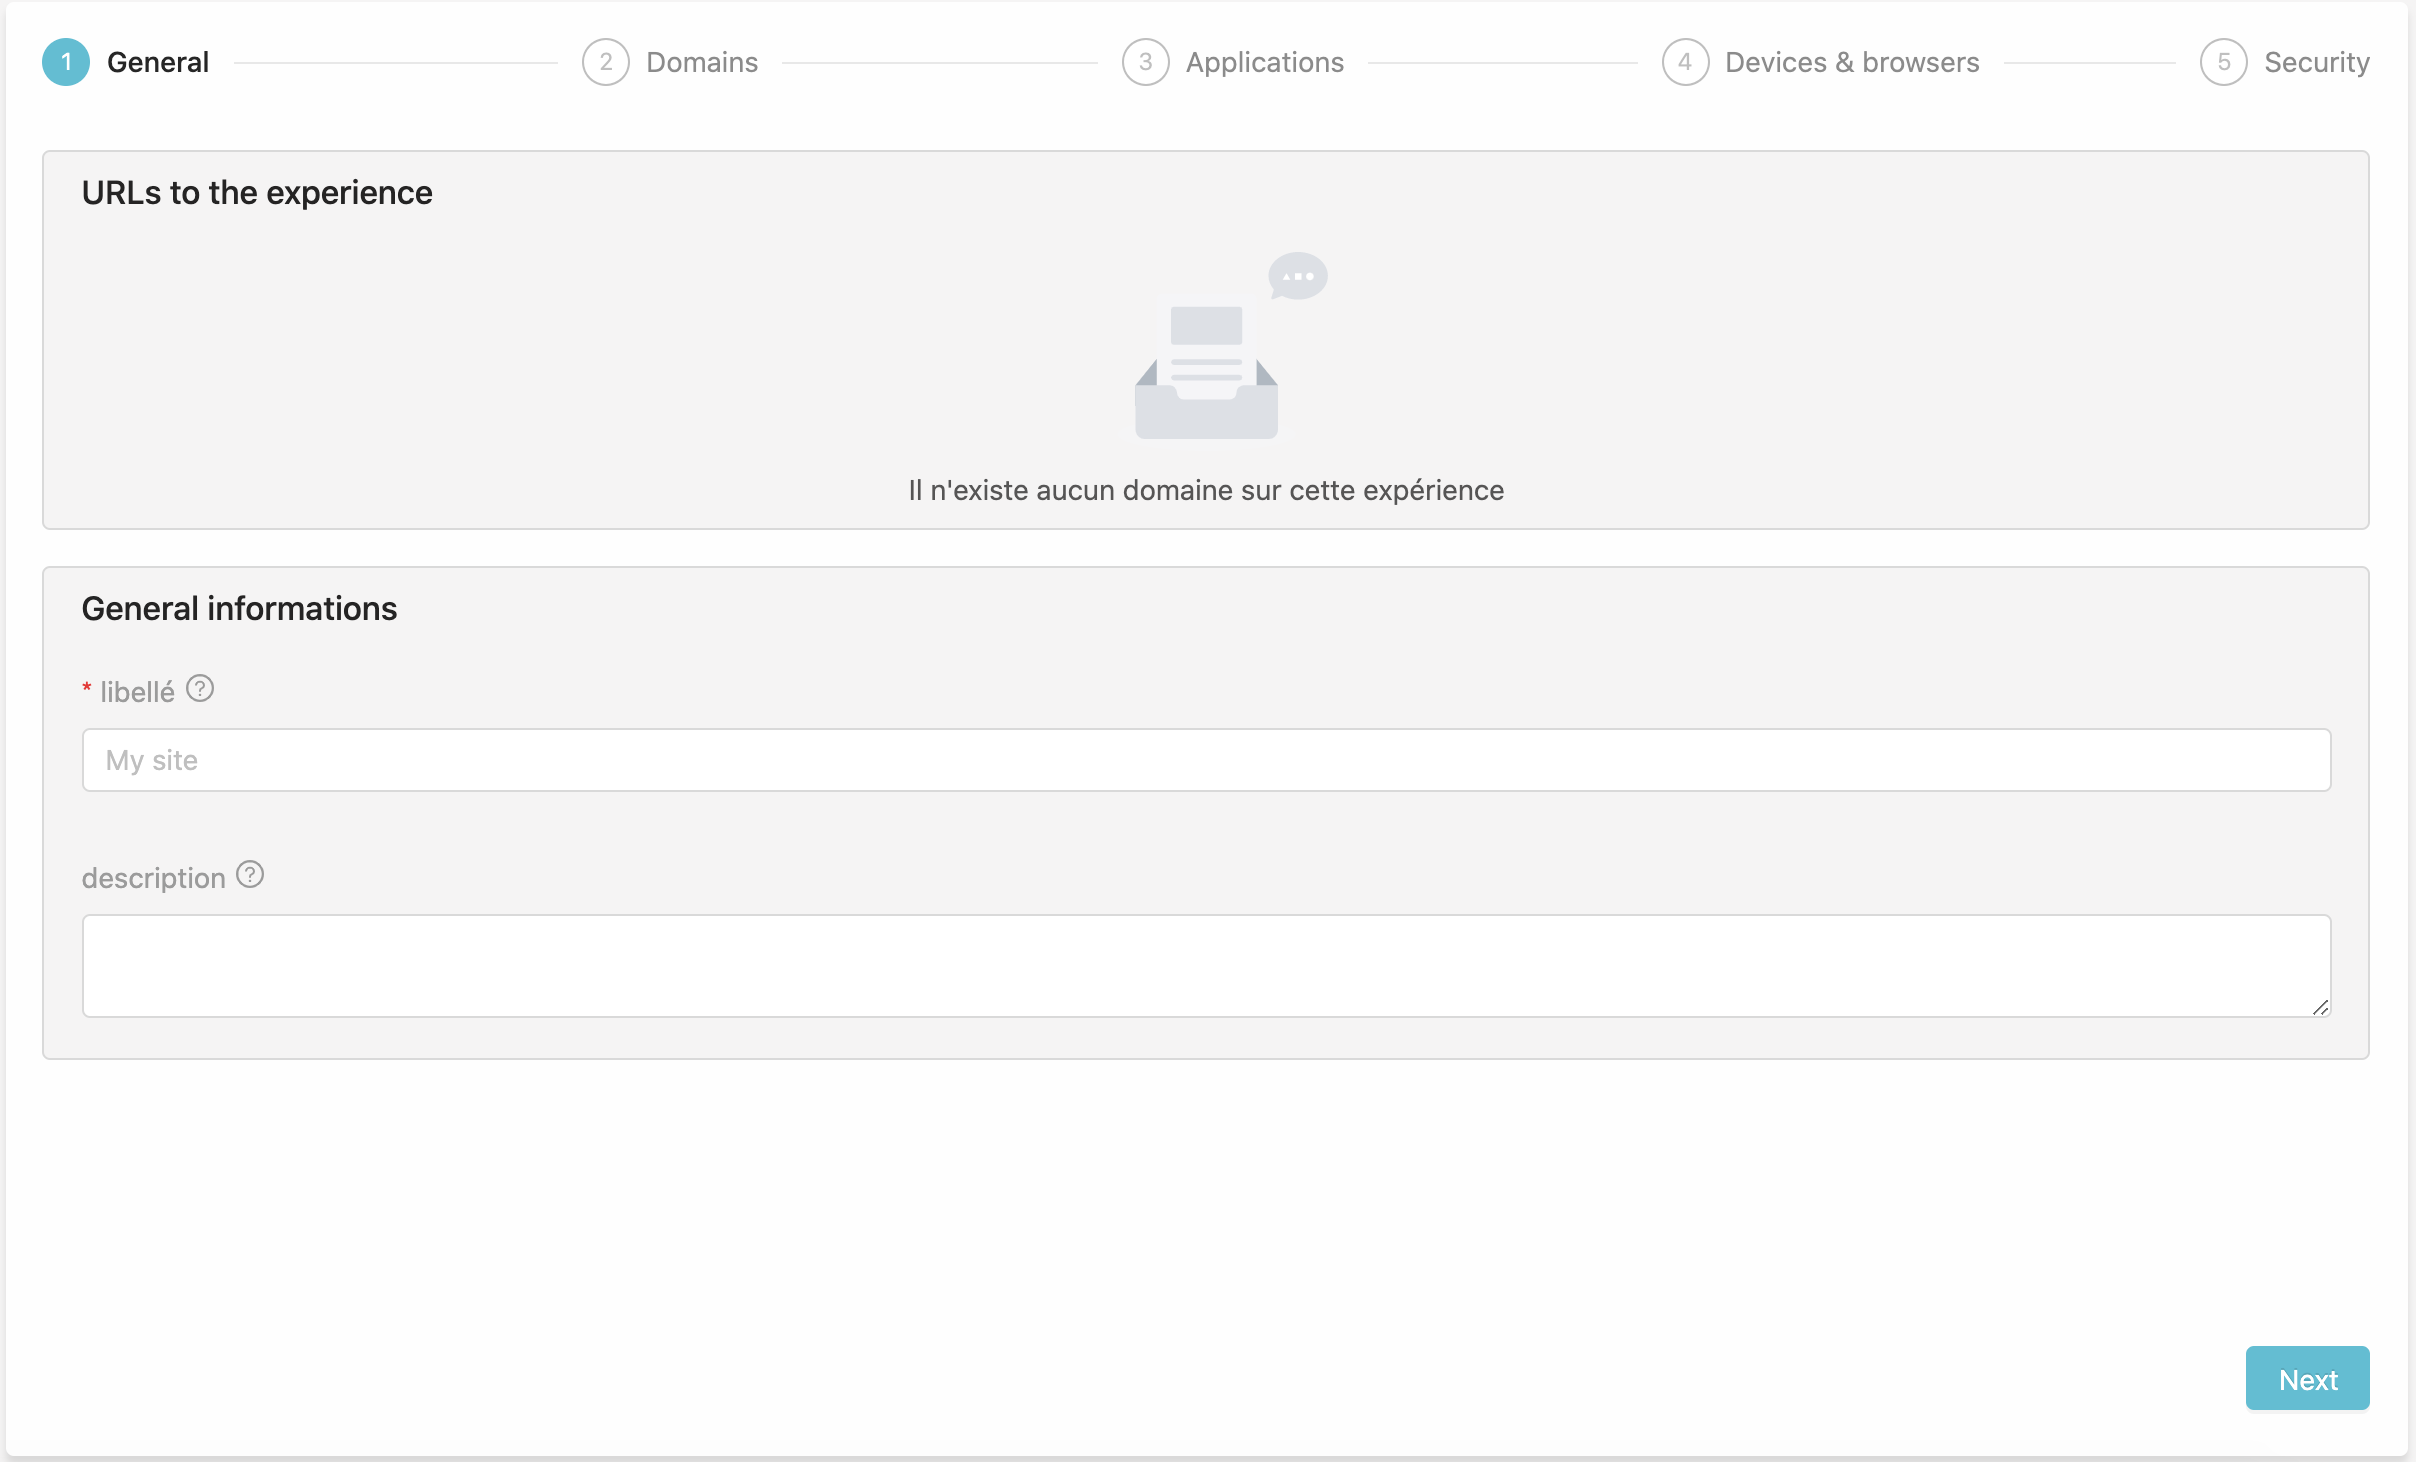
This first step requires
- a label :
My team experienceormy demo experiencefor examples - a description : what this experience does
Domains
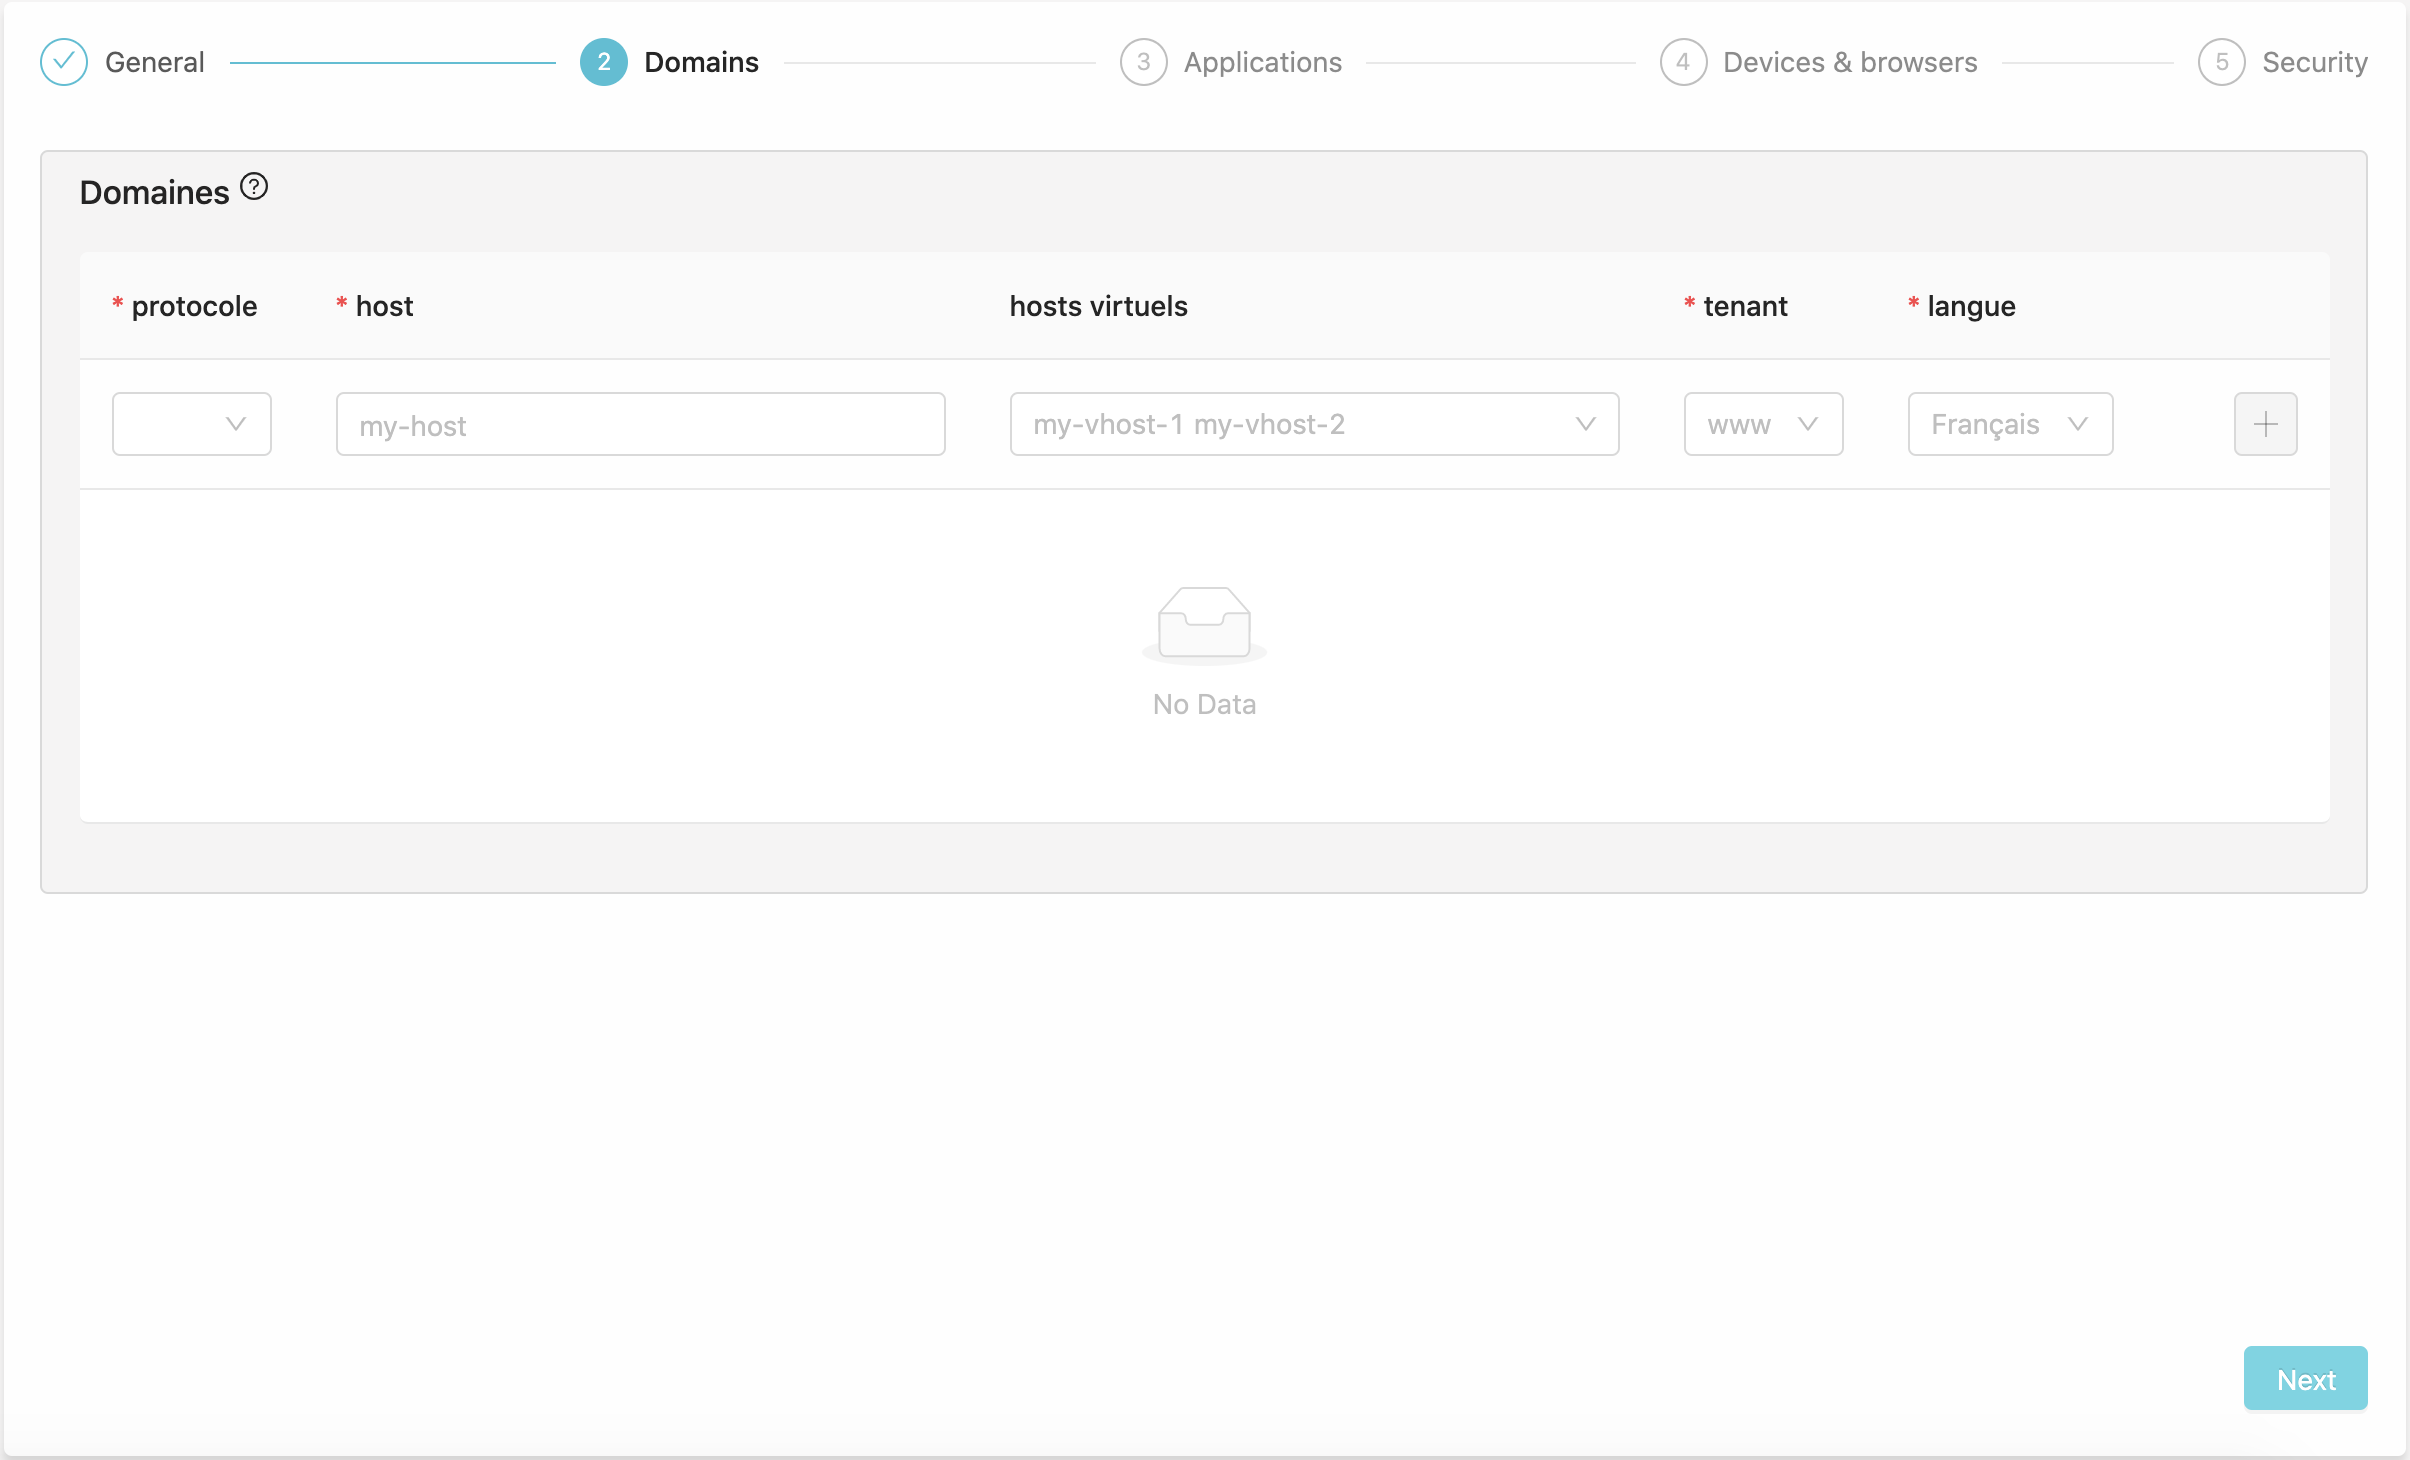
Since an Experience is a custom Site configuration accessible from a different domain, you have to set them up. This screen is very similar to the Site’s domains but you will reuse the site’s tenants and locales.
Applications
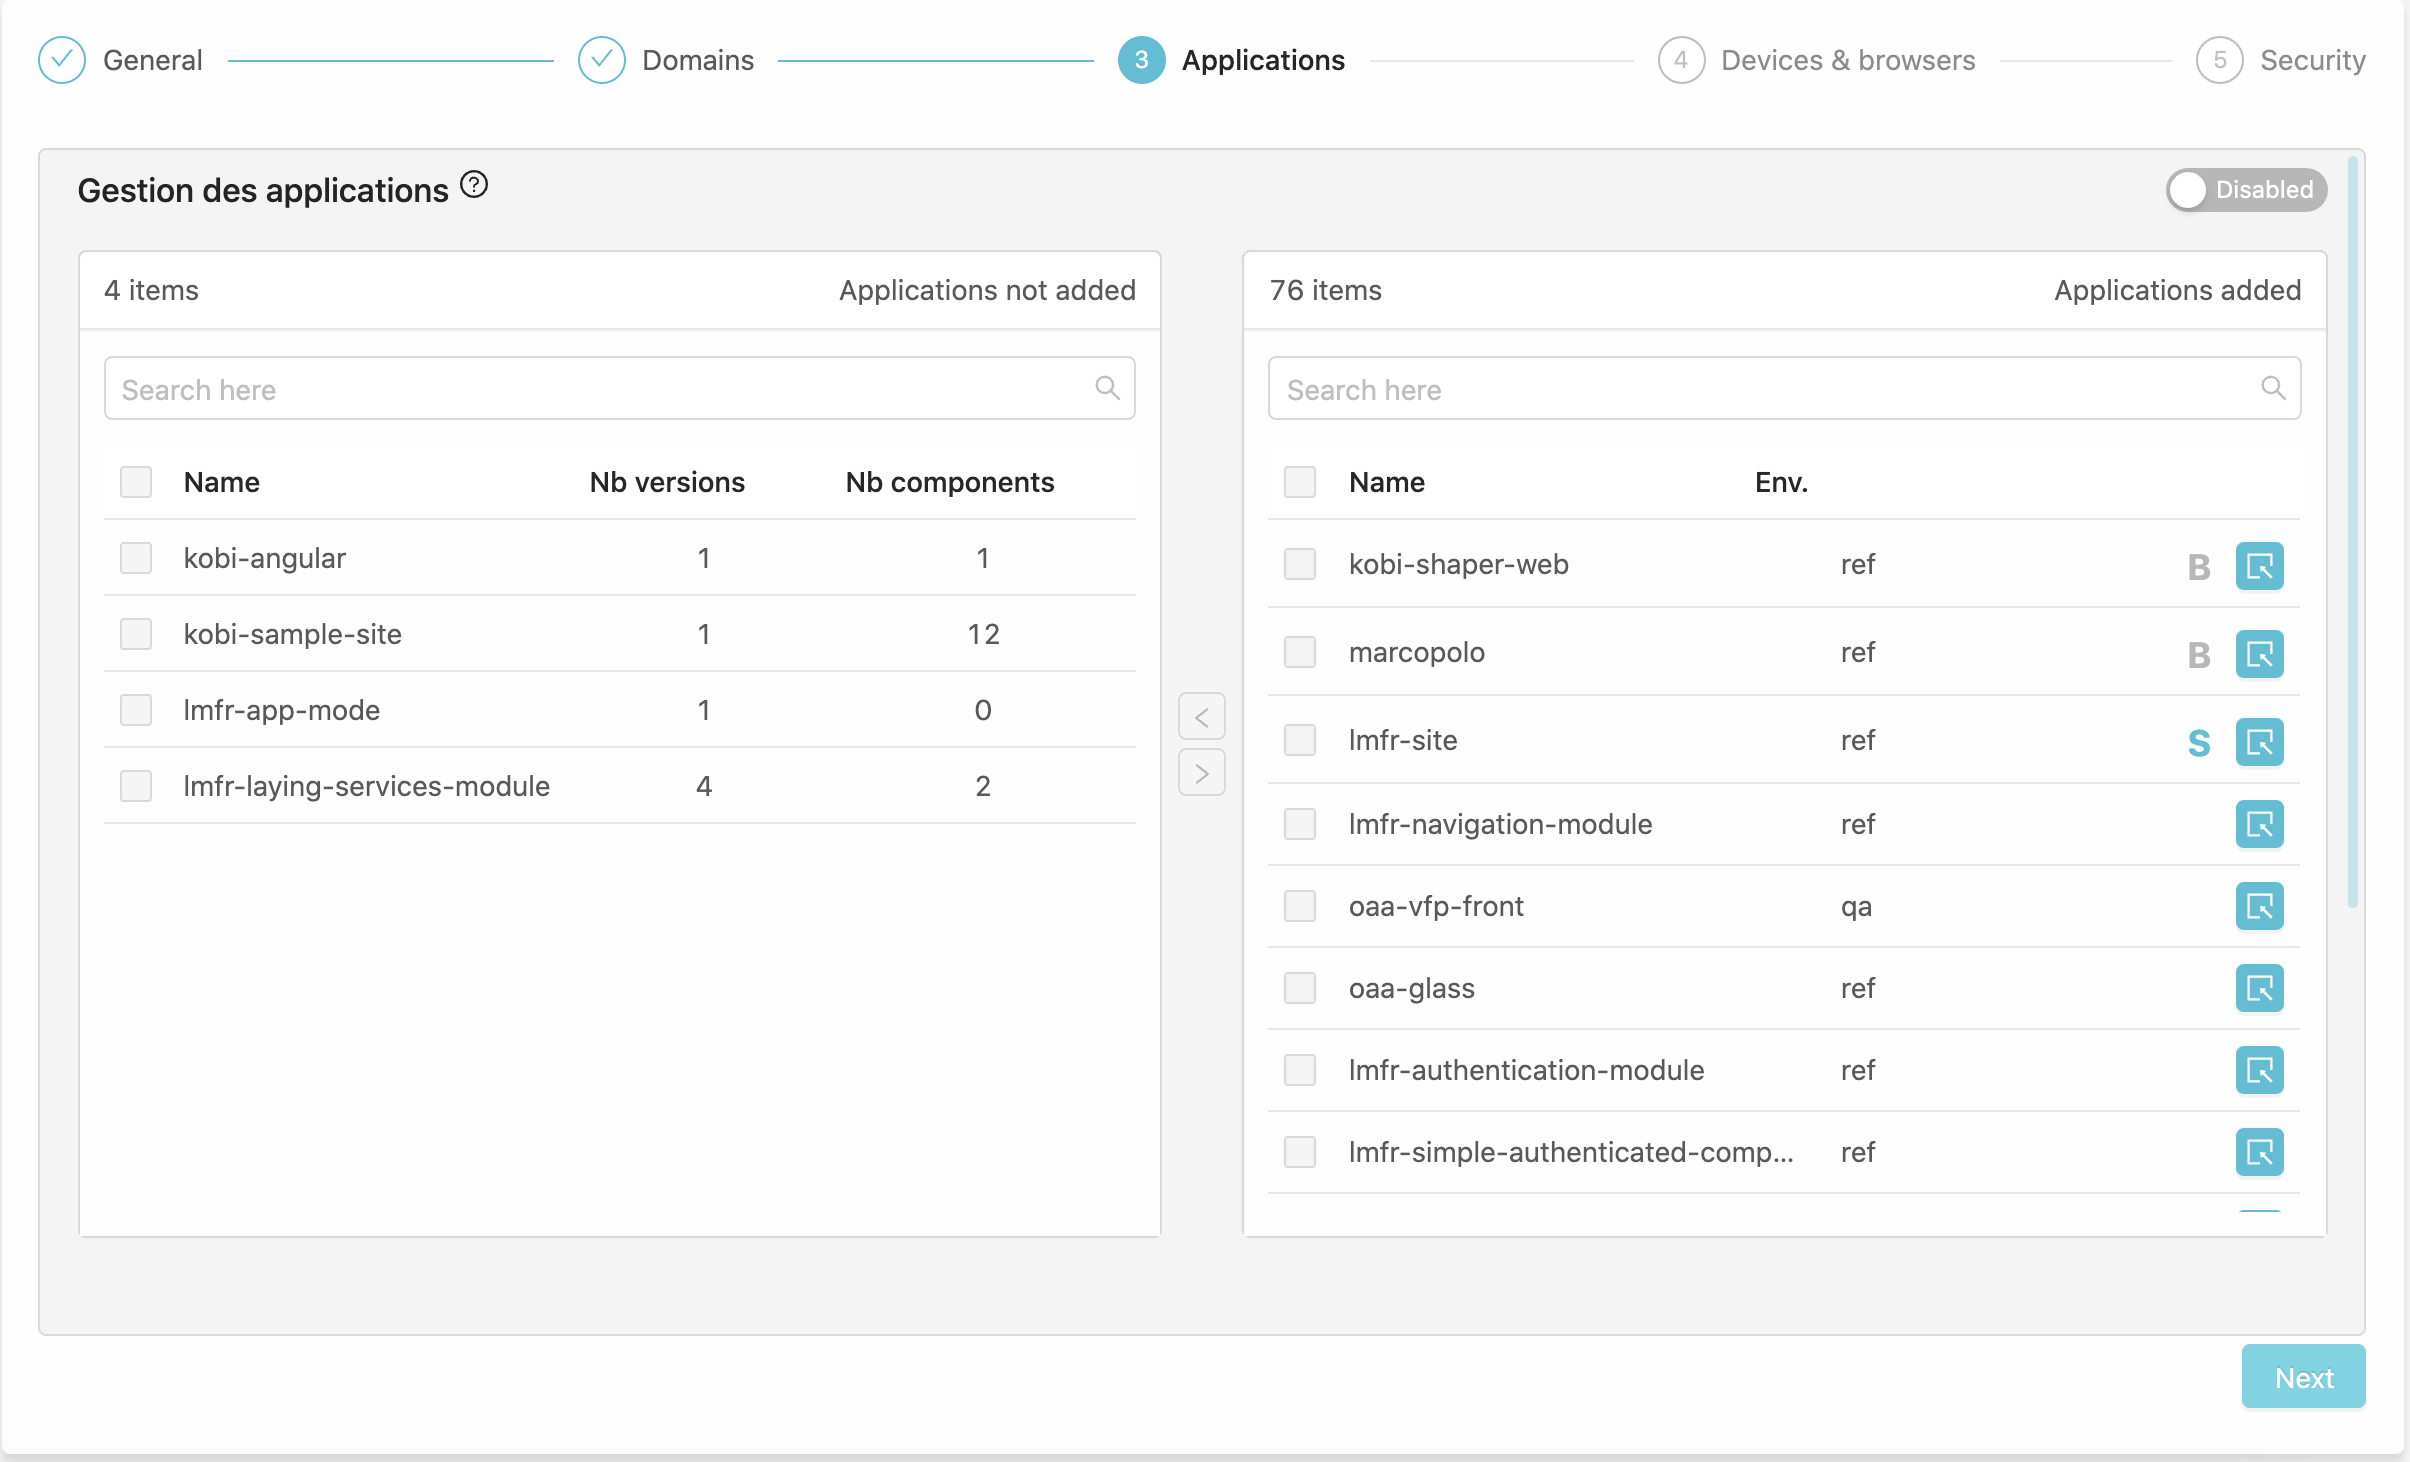
The main goal of Experiences is to benefit the whole default Site configuration, but being able to override some applications you’re working on. Here again the screen is very similar to the Site’s applications.
By default the override is disabled and you will see all the configured applications for the site. If you enable this config (toggle on the upper-right corner), the right tab will be wiped and you can set up the application you want to override.
When configuring an application, you can select the version of your choice.
Backend routing rules
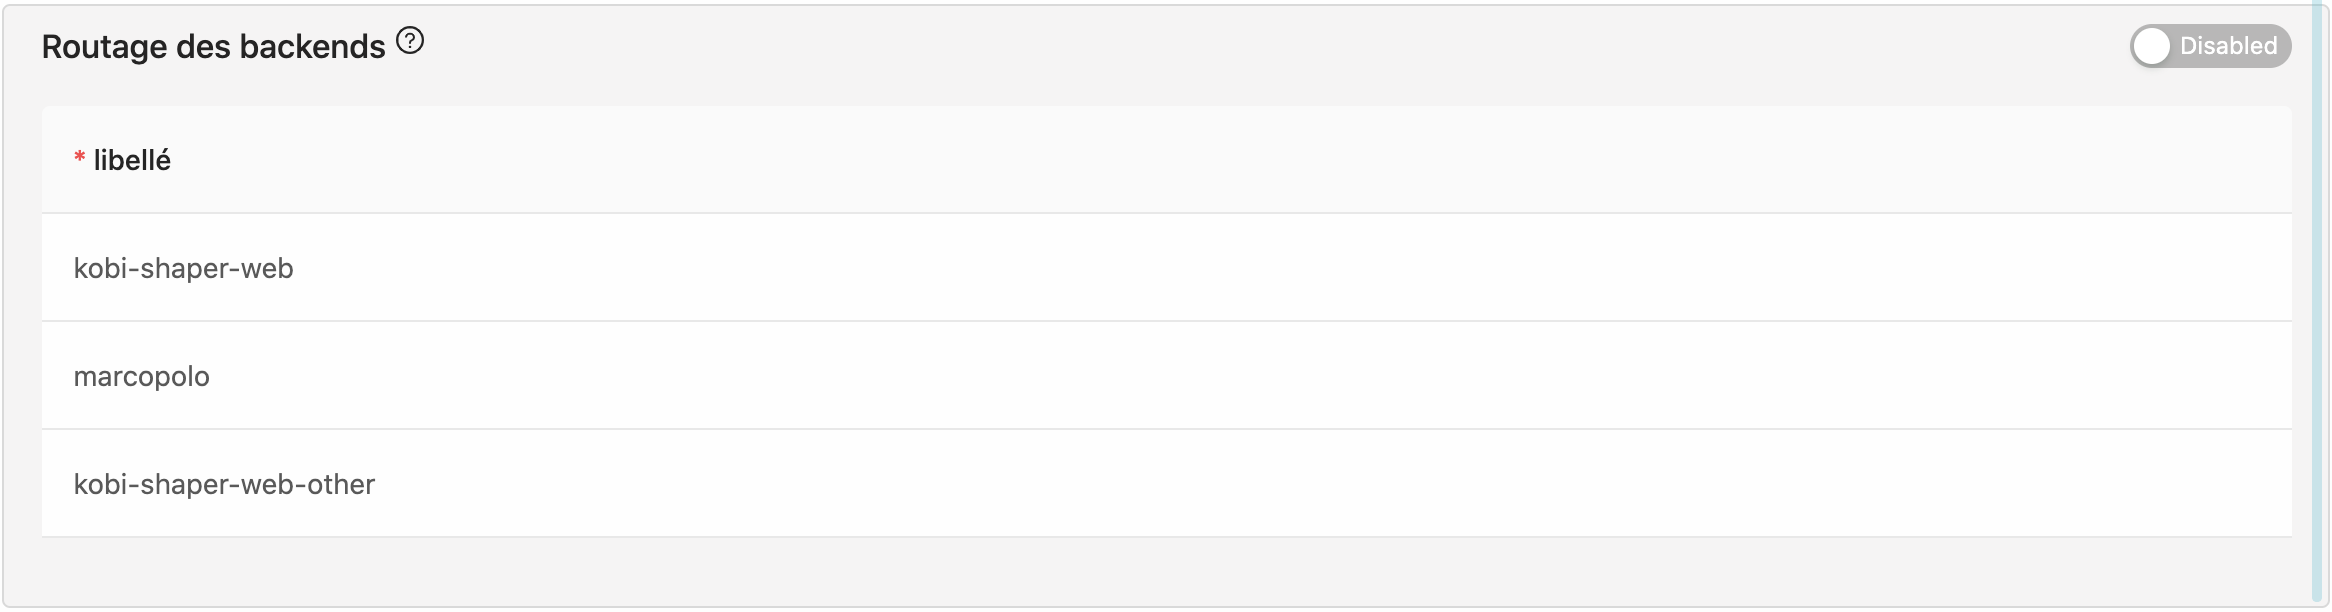
Here again this section is the same as the Site’s. It is disabled by defaut, meaning that you are using the Site’s default backend rules. You can off course override this configuration thanks to the upper-right corner toggle.
Devices and browsers
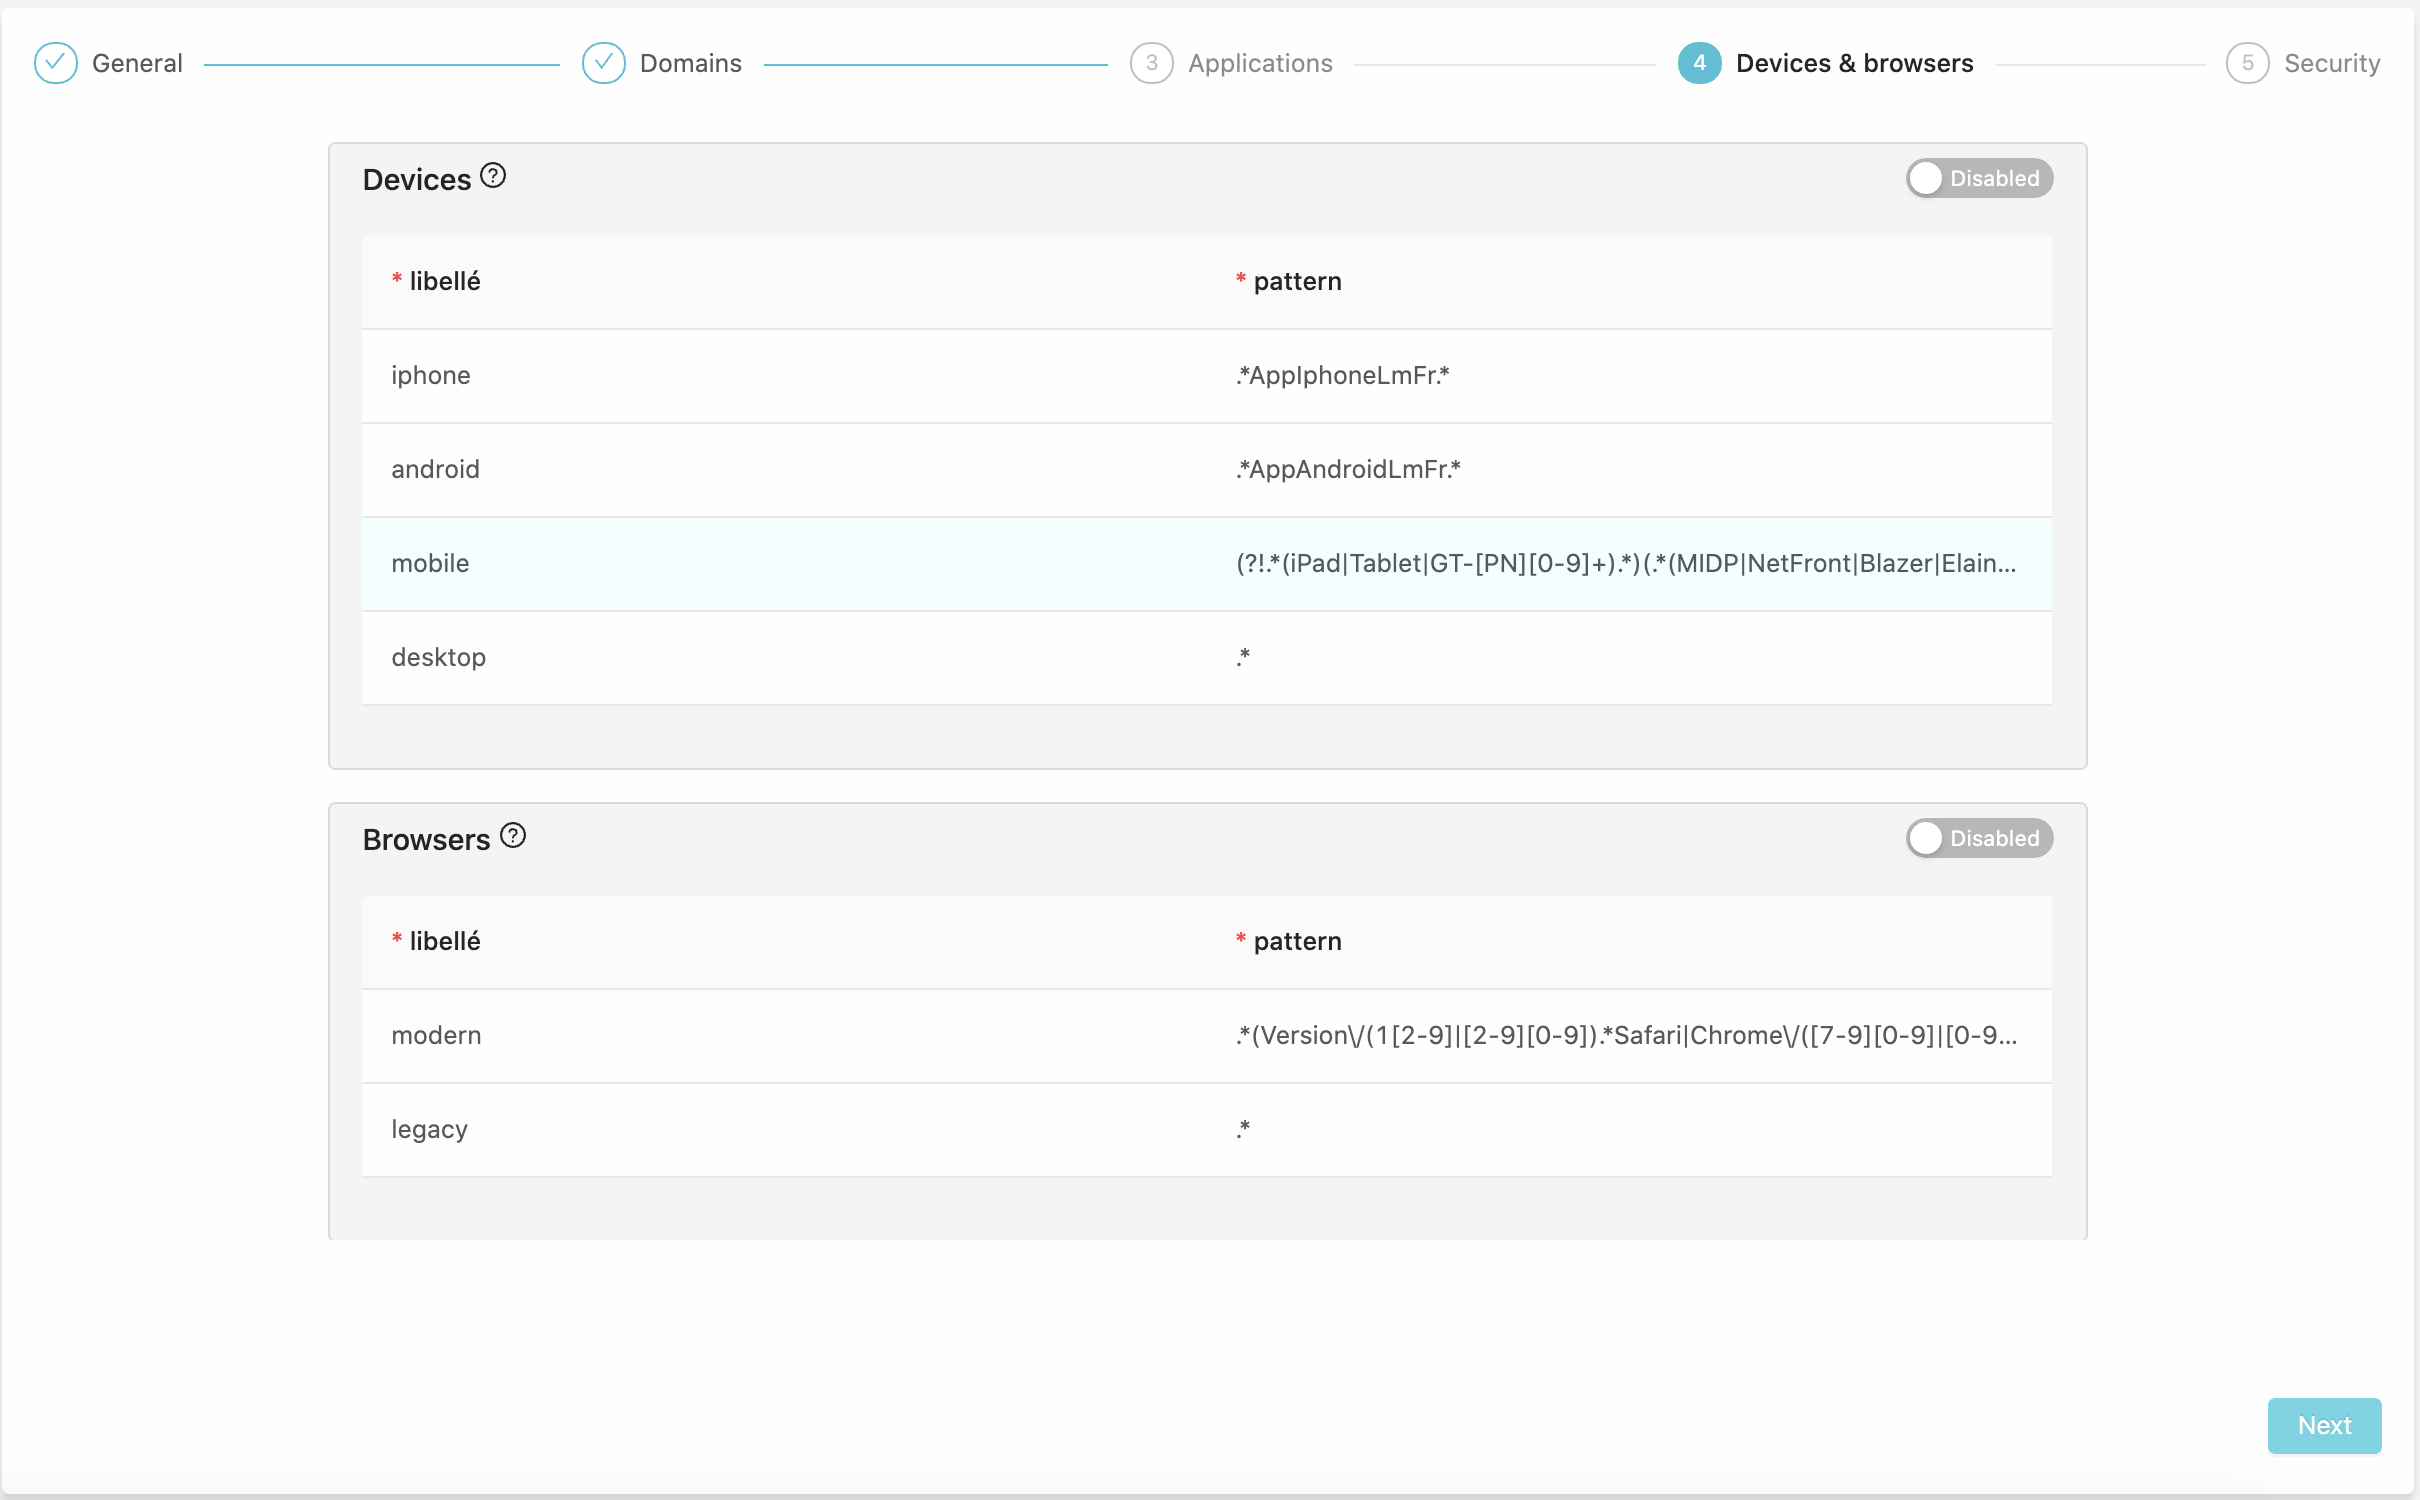
Once again, same screen ad the Site’s, disabled by default, enabling it will overrides the devices and browsers detection.
Security
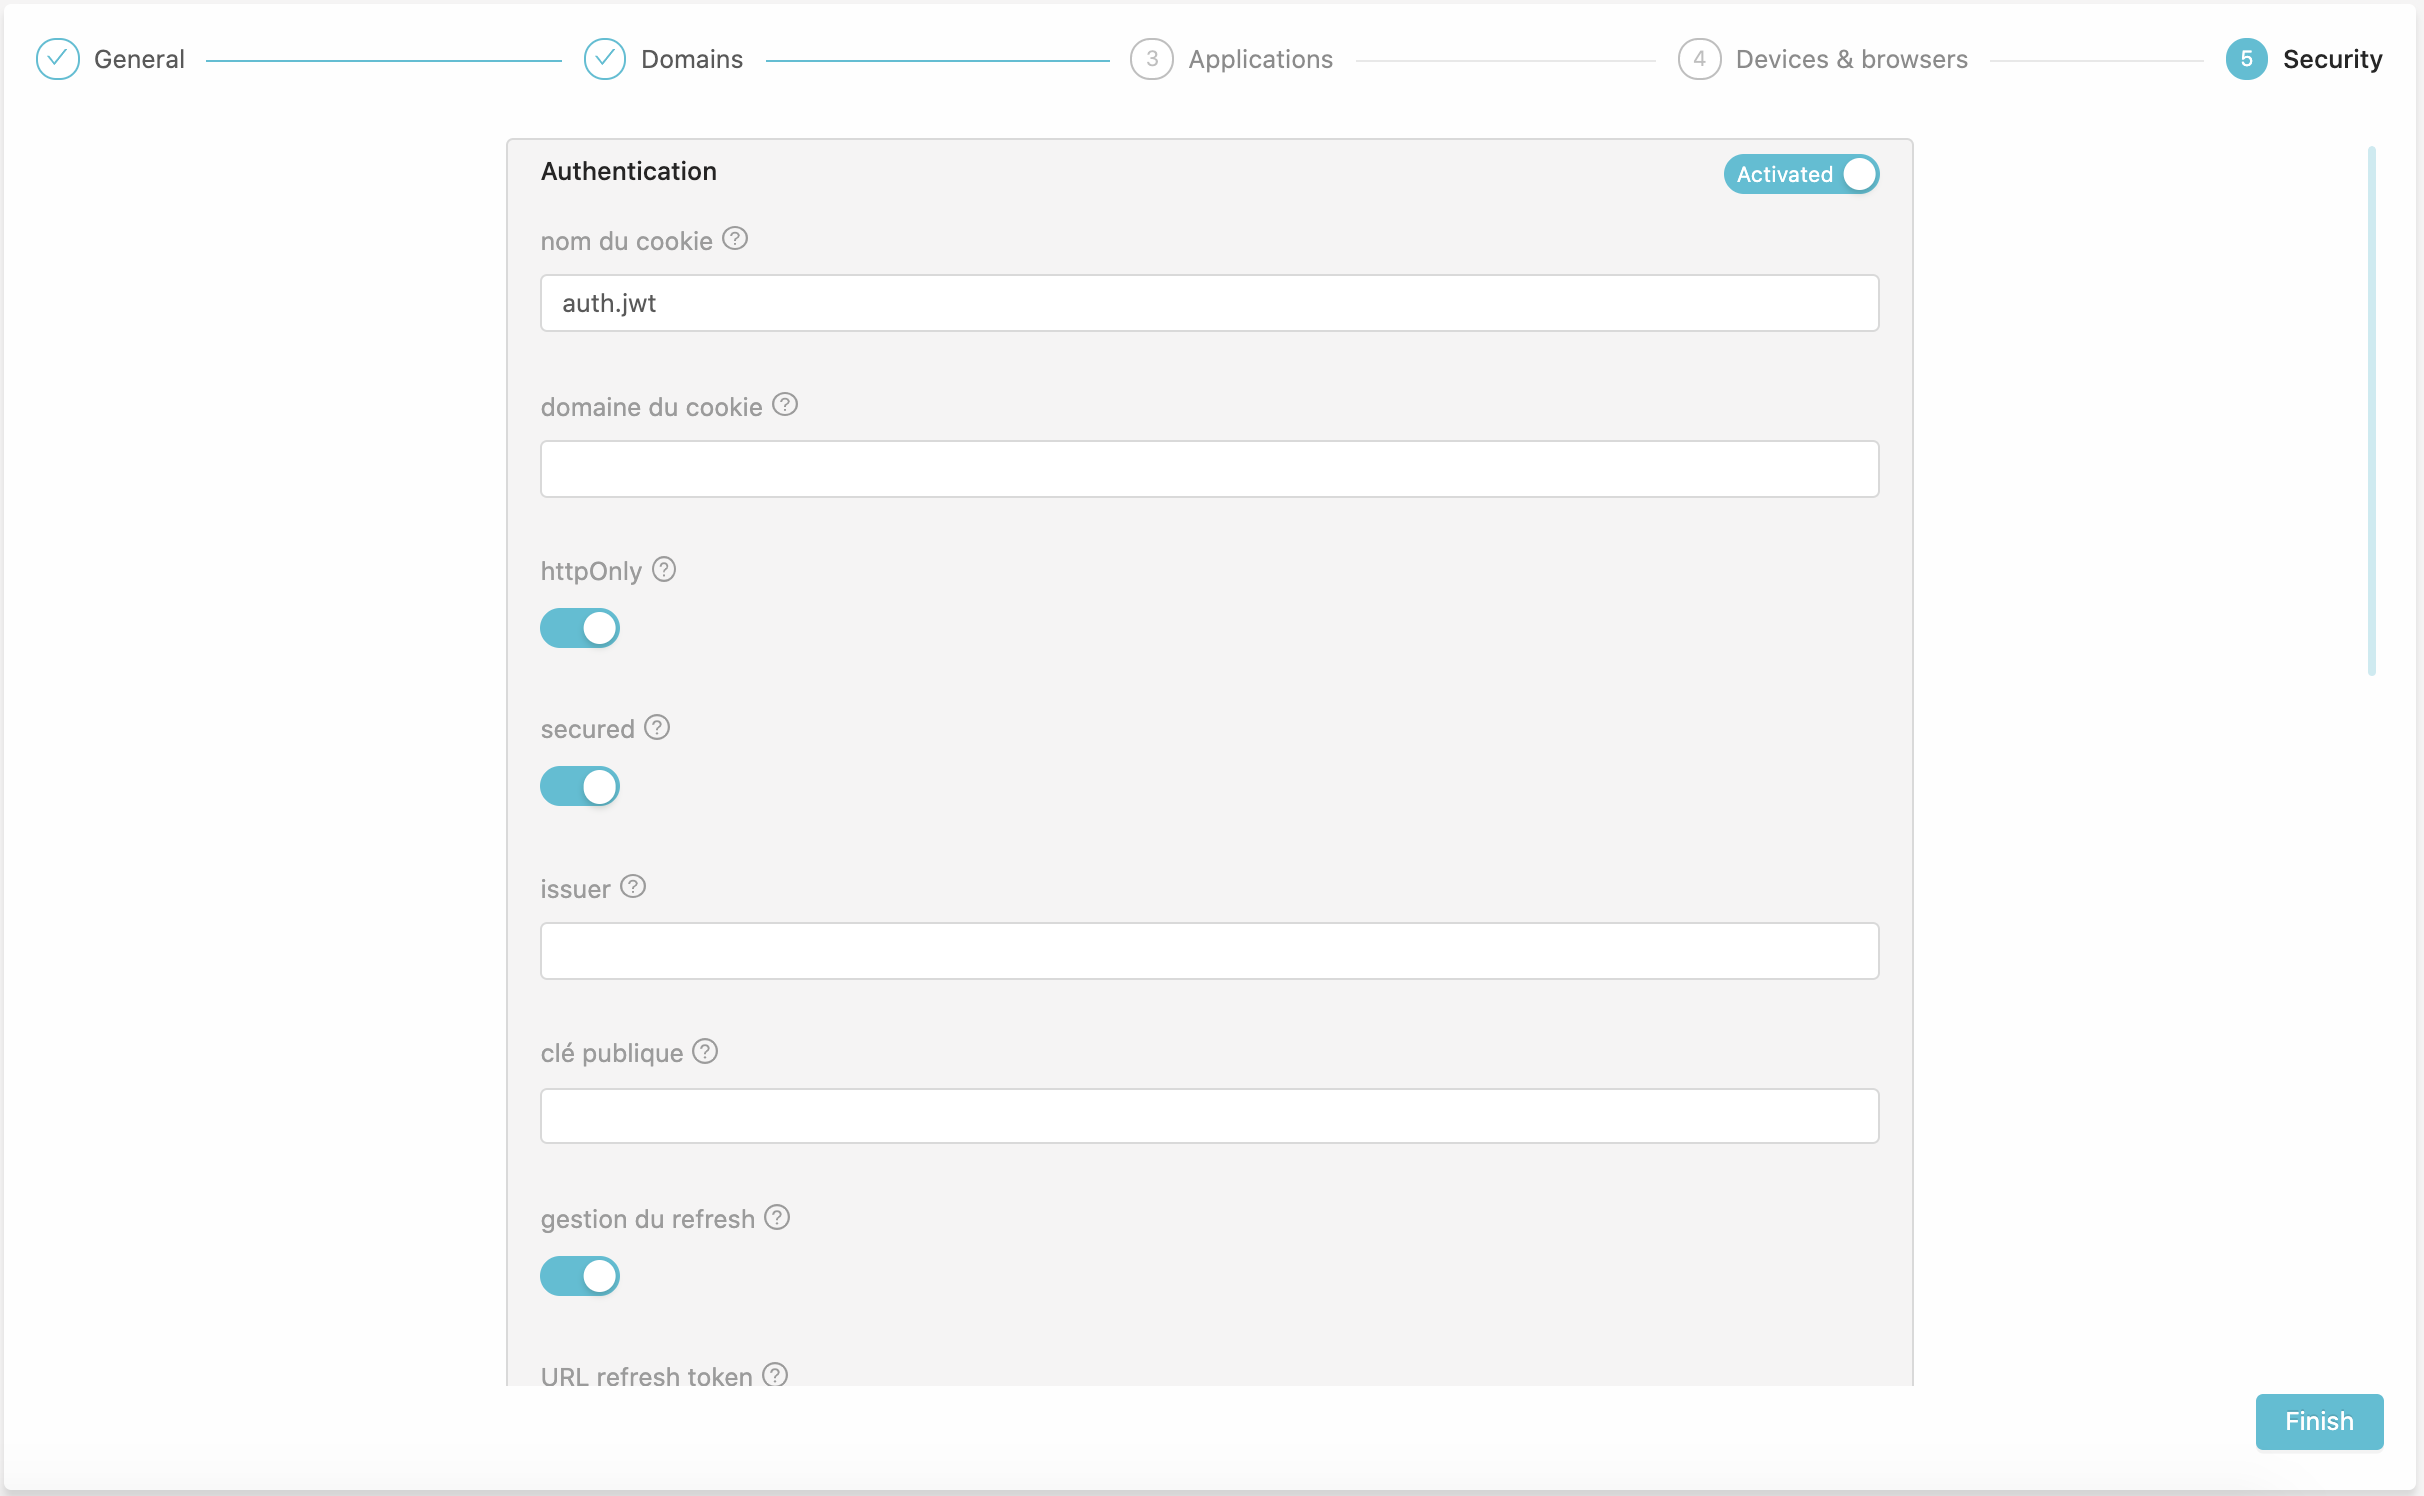
The last step, here again the form is same as the Site’s, override may be used to tests authentication features, report to the security documentation.
Access the experience
Once created, you should see your Experience URL, you can click on it to access your environment. Everything should be the same as the default Site configuration, except for the configurations you have overrode.
Authorization
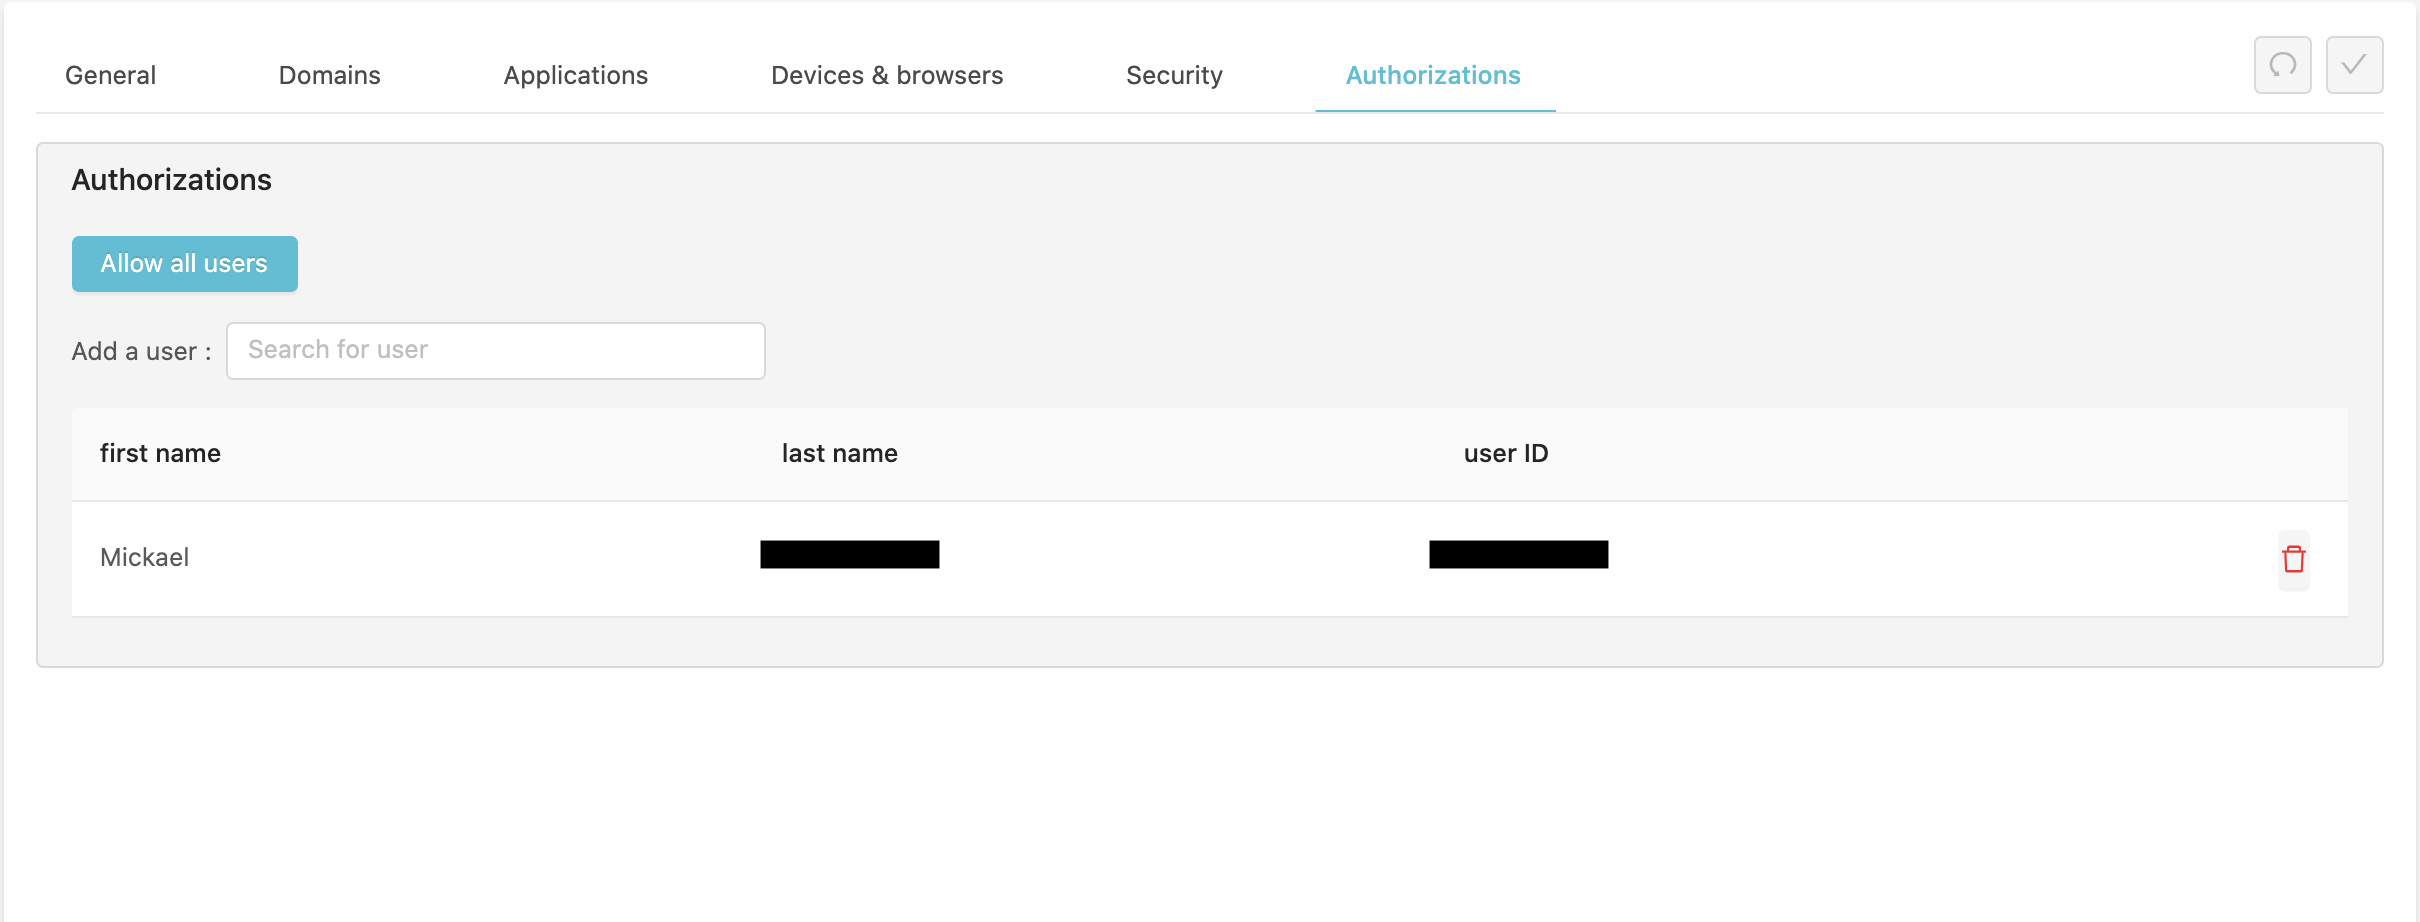
Experience configurations features a list of members that have edit rights on this experiences. After creation you should be the only one in this list. This means you are the only one (besides ADMINS) that can edit or delete this experience. Anyone can access it through its URL, but no one else can edit it.
You can use the search input to add members to work with you on this Experience.
The “allow all users” button will clear the member’s list, if the list is empty, anyone can edit/delete.
Usage
Once created your experience will appear in the header, next to the site selection. Make sure to select your experience.